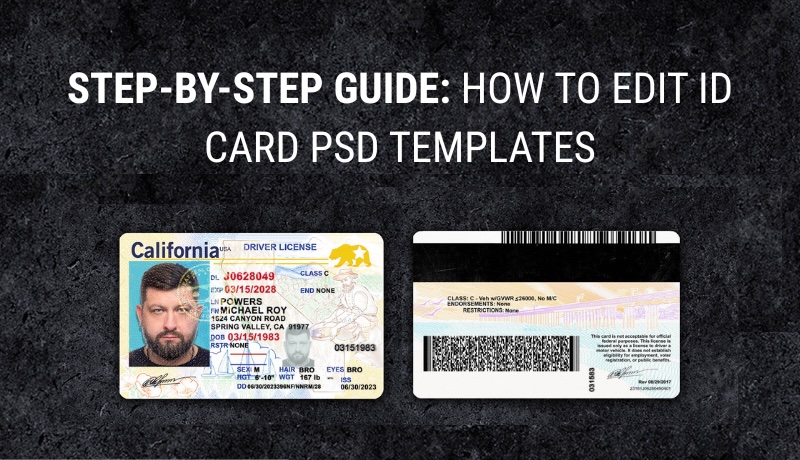
How to Use an ID PSD Template — Step-by-Step Guide
Welcome! This is a complete guide on how to use PSD templates from the site pdf417mrz.xyz. Whether you are a beginner or an experienced designer, this guide will help you navigate through the process of downloading, editing, and utilizing PSD ID templates effectively.
Step 1: Downloading the PSD Template
To begin creating your USA passport ID card PSD template, the first step is to download the appropriate template PSD. You can find a variety of templates available, including a driving license template and a residence permit that meet specific needs from pdf417mrz.xyz
All our photoshop templates you choose are fully editable and customizable. All our editable ID card PSD options come with fonts included, making it easier to tailor your design.
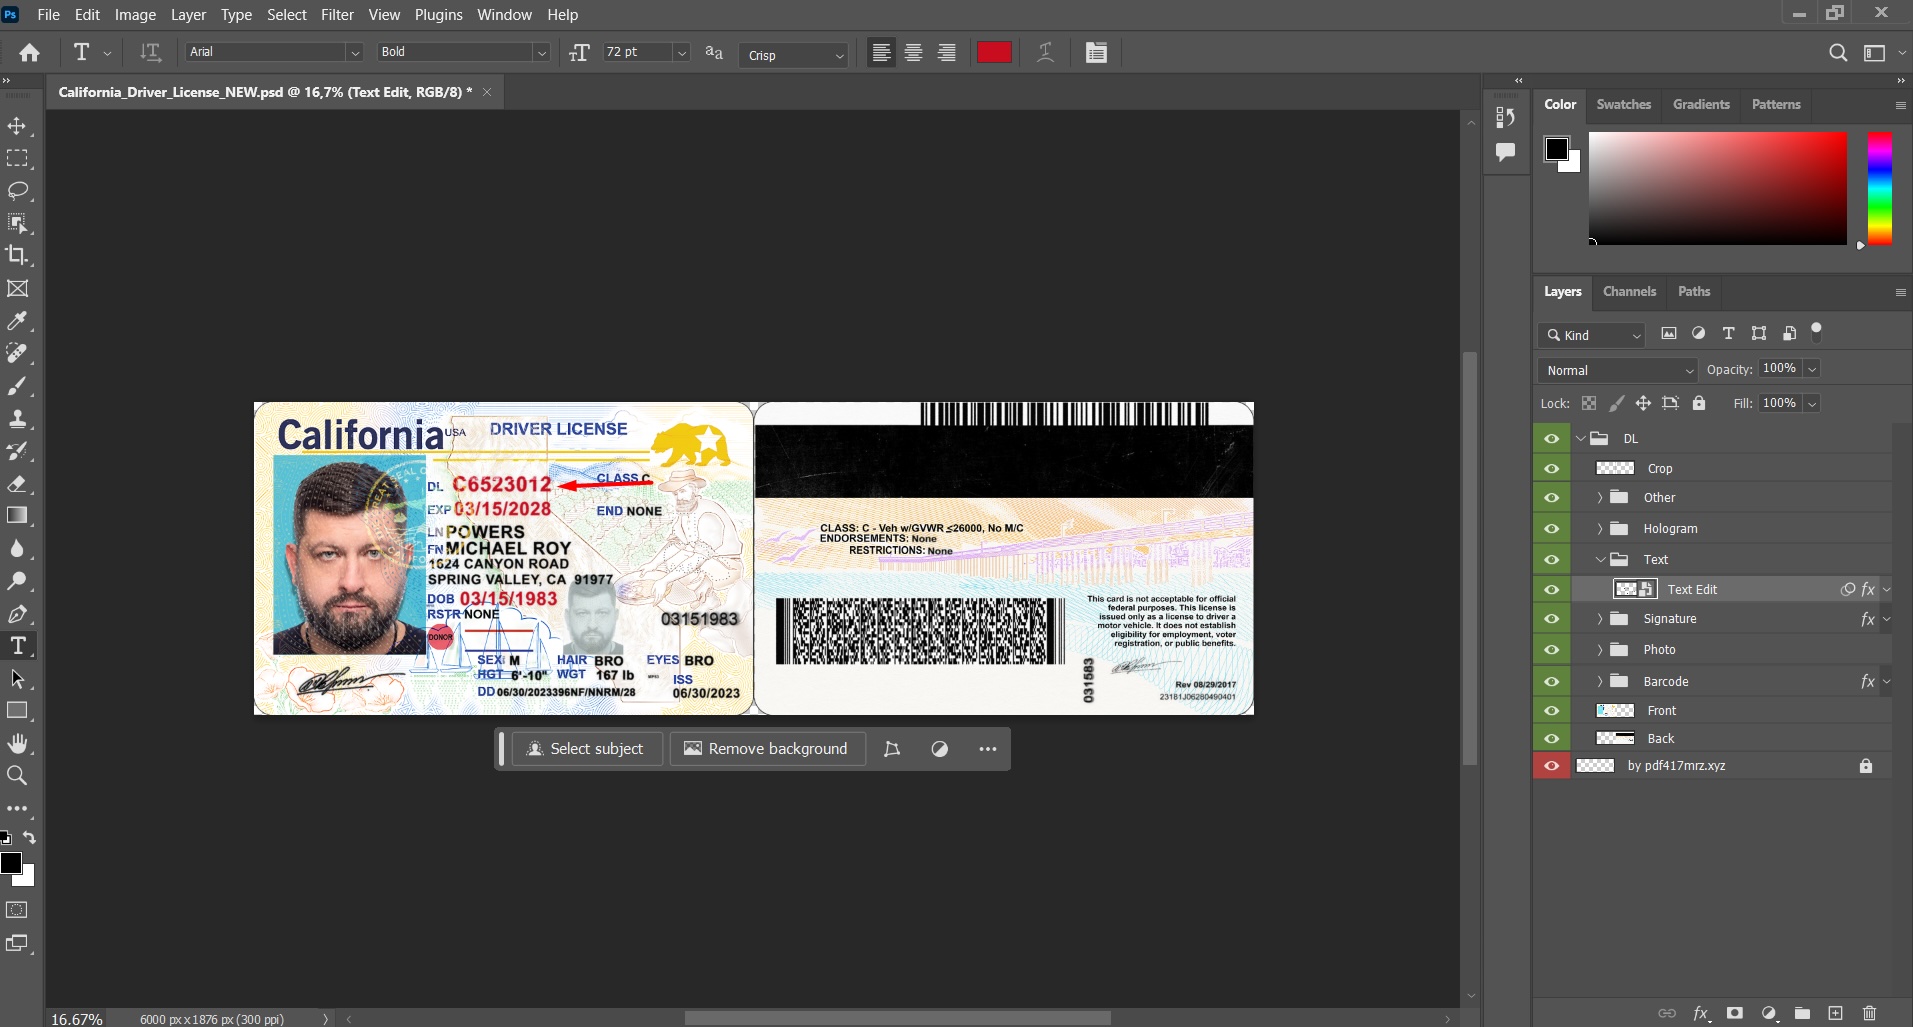
Let’s walk through an example using a California Driving License PSD template. Once you download the archive, extract it — inside, you’ll find a PSD file (the actual card template).
Step 2: Editing the PSD Template in Photoshop
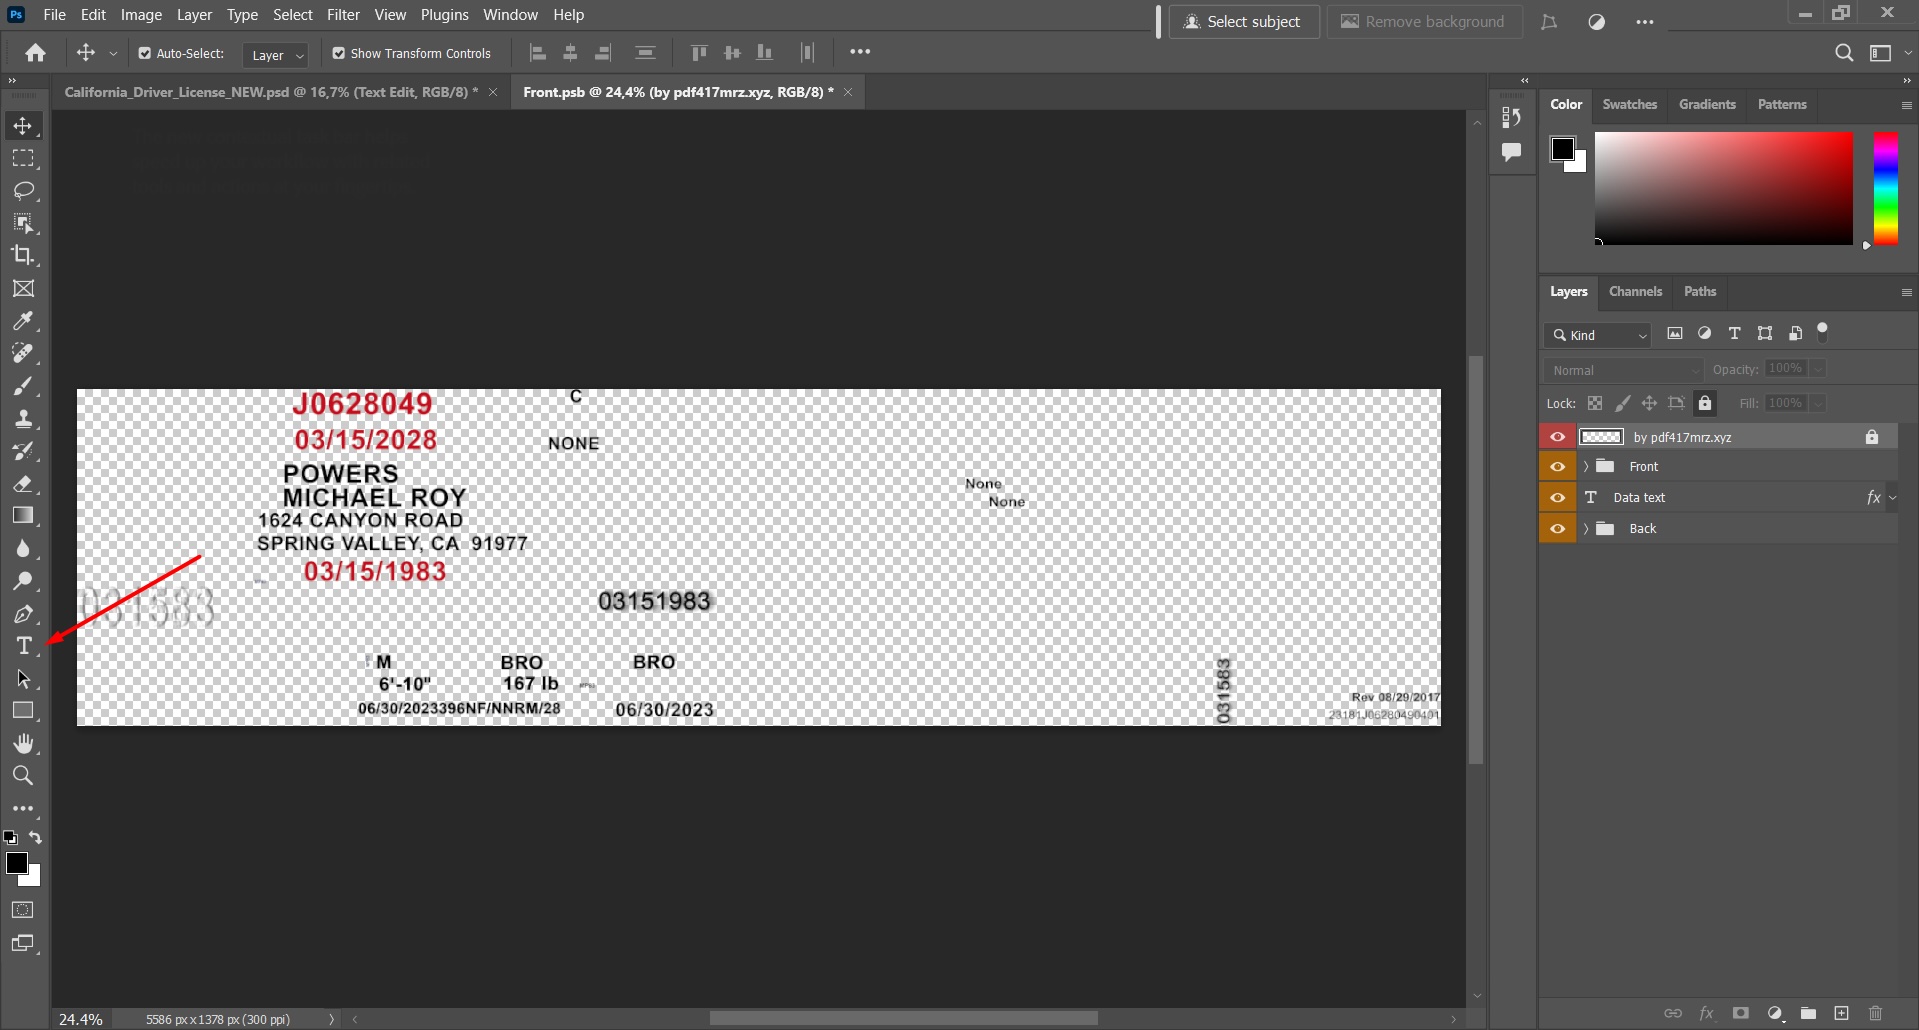
Open the PSD file in Photoshop. On the right panel, you’ll see the layers — this is where the editable content is located. Note: the structure of layers may differ between PSD templates.
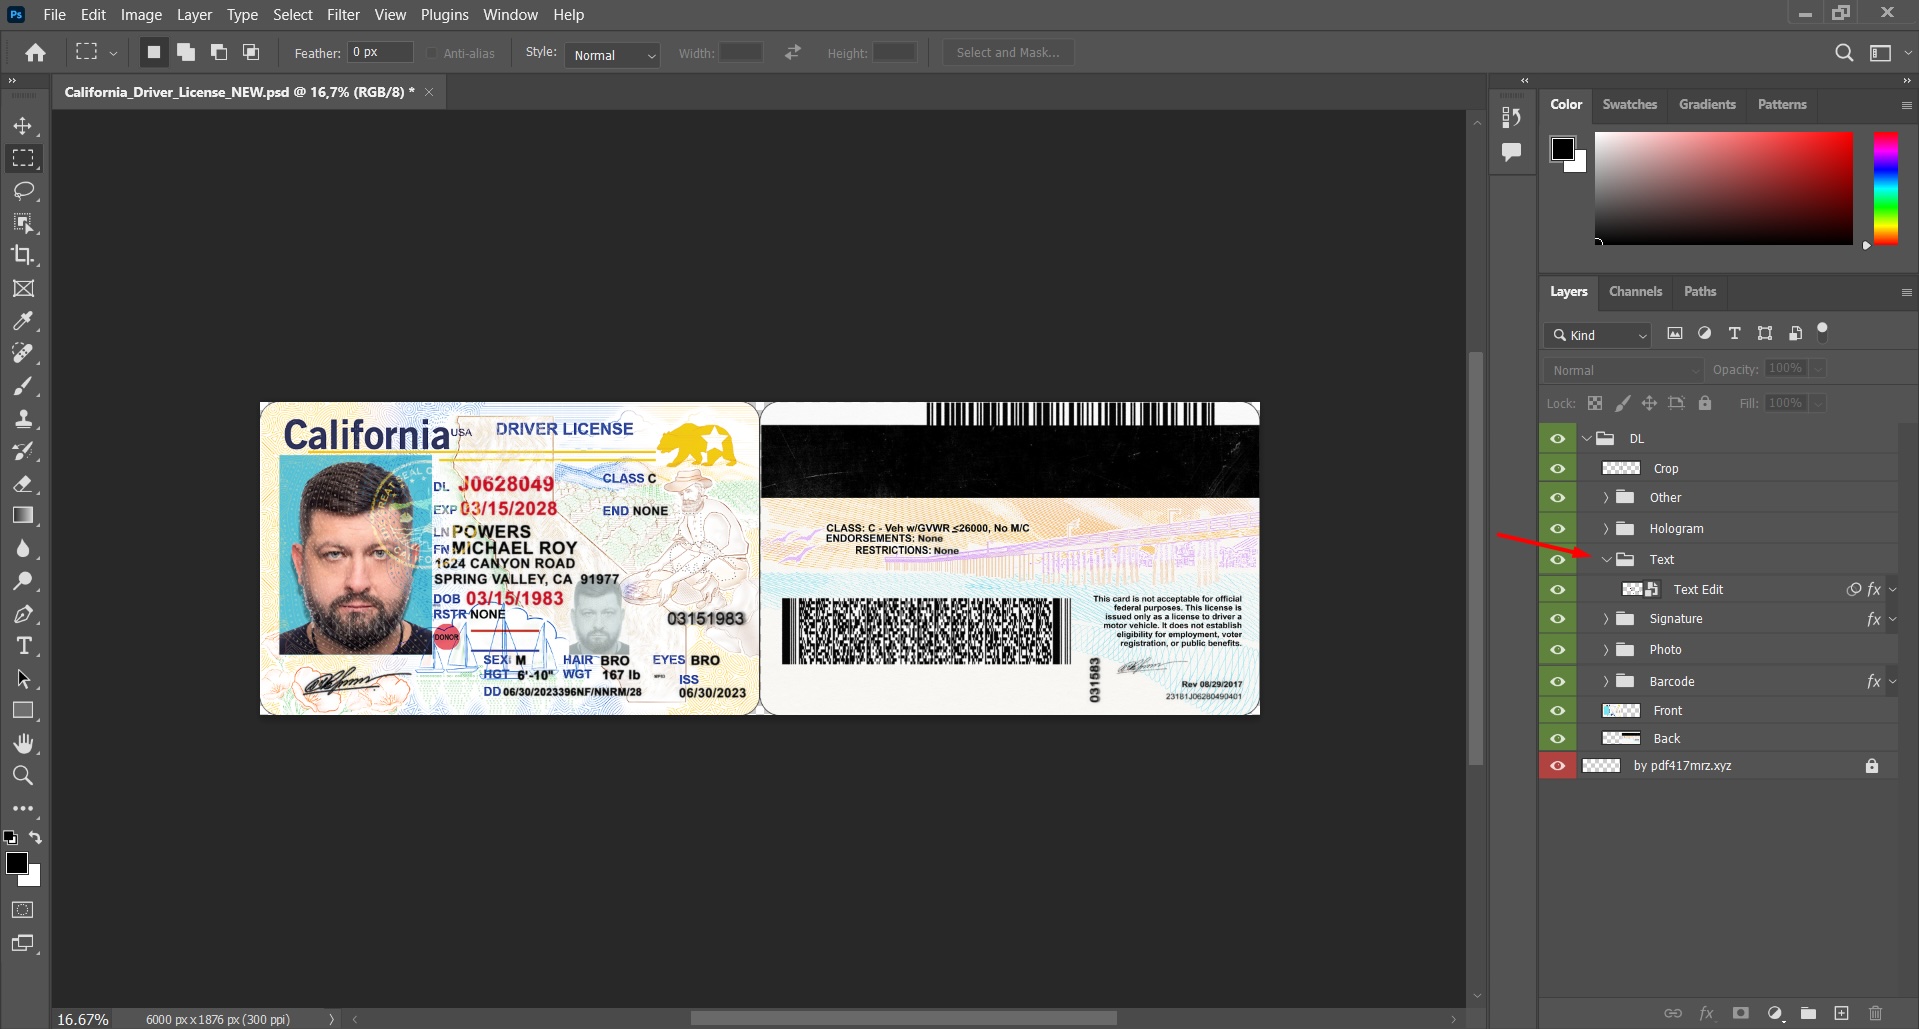
In this example, you can edit:
- Text
- Photo
- Signature
- Hologram
- PDF417 and Code 128 barcodes
You can generate barcode data for your document directly on the site: pdf417mrz.xyz
Step 3: Editing Text in the Template
To edit text with your own data:
- In the layers panel, locate the folder named Text.
- Open it and find a smart object labeled Text Edit.
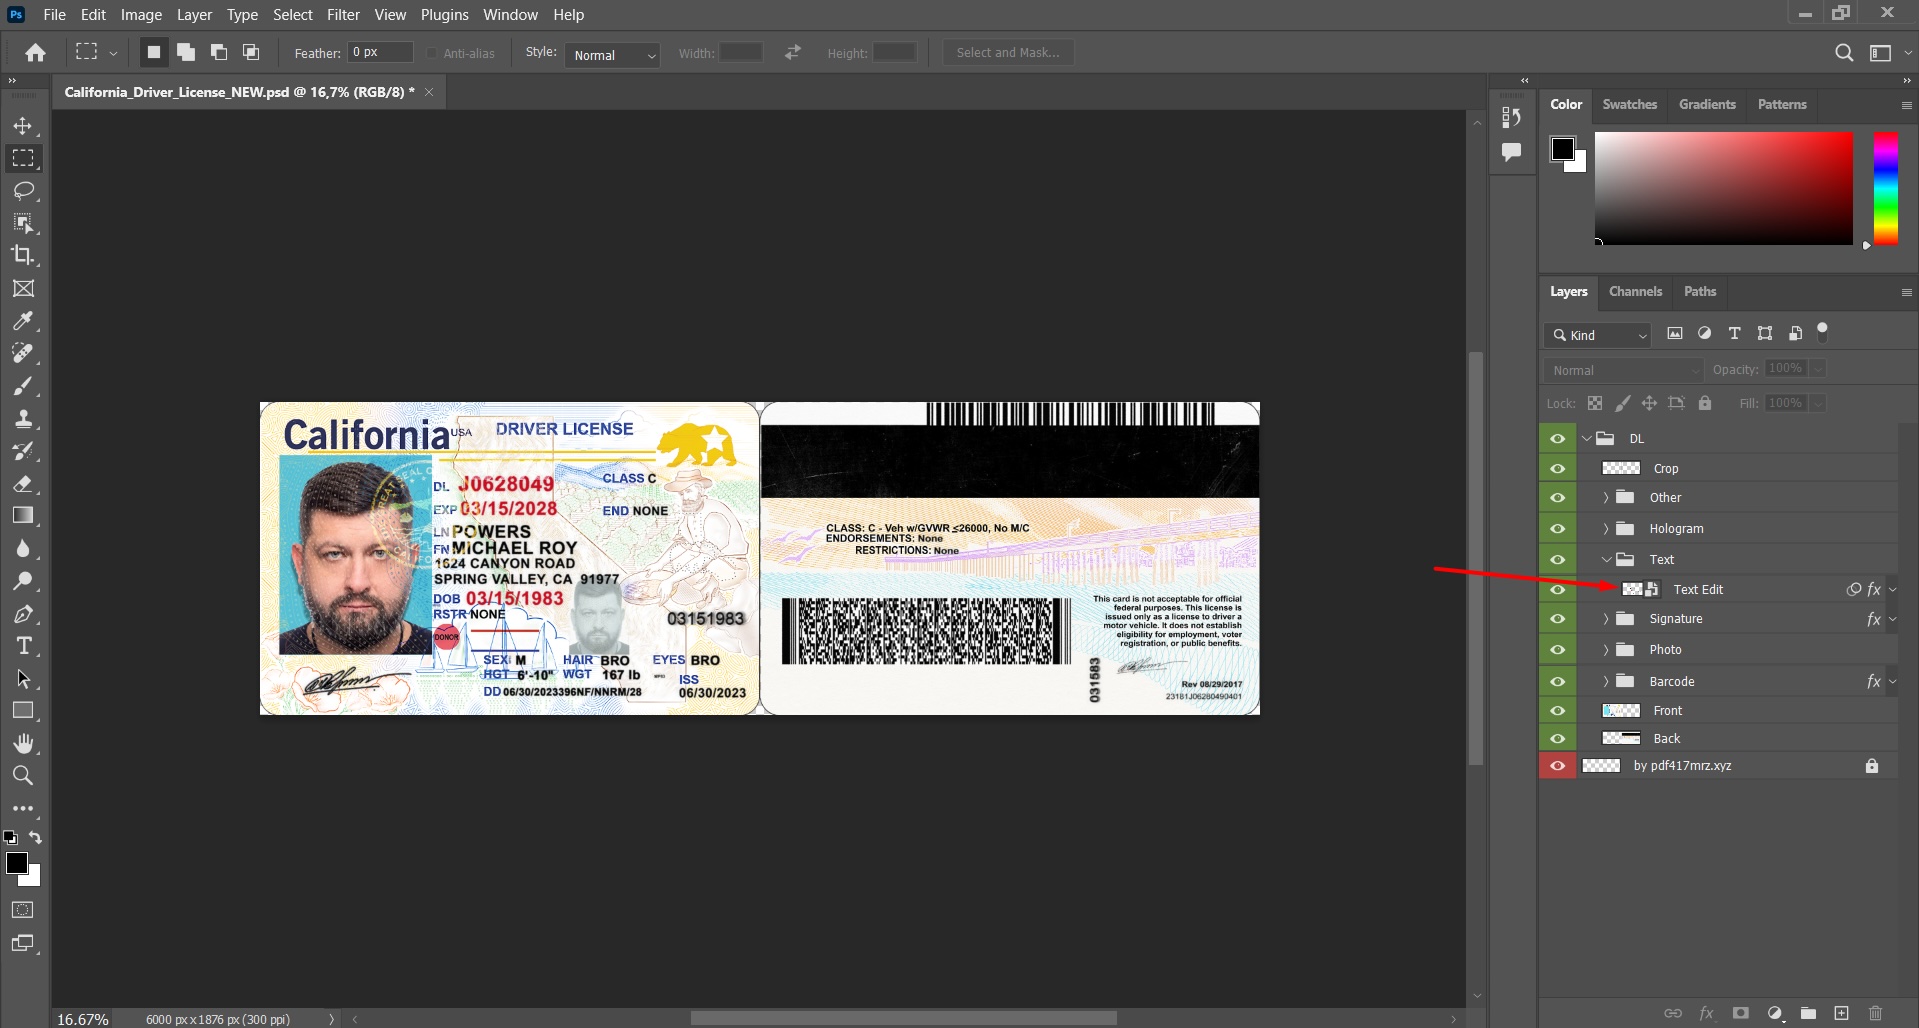
1. Double-click on this layer to open it.
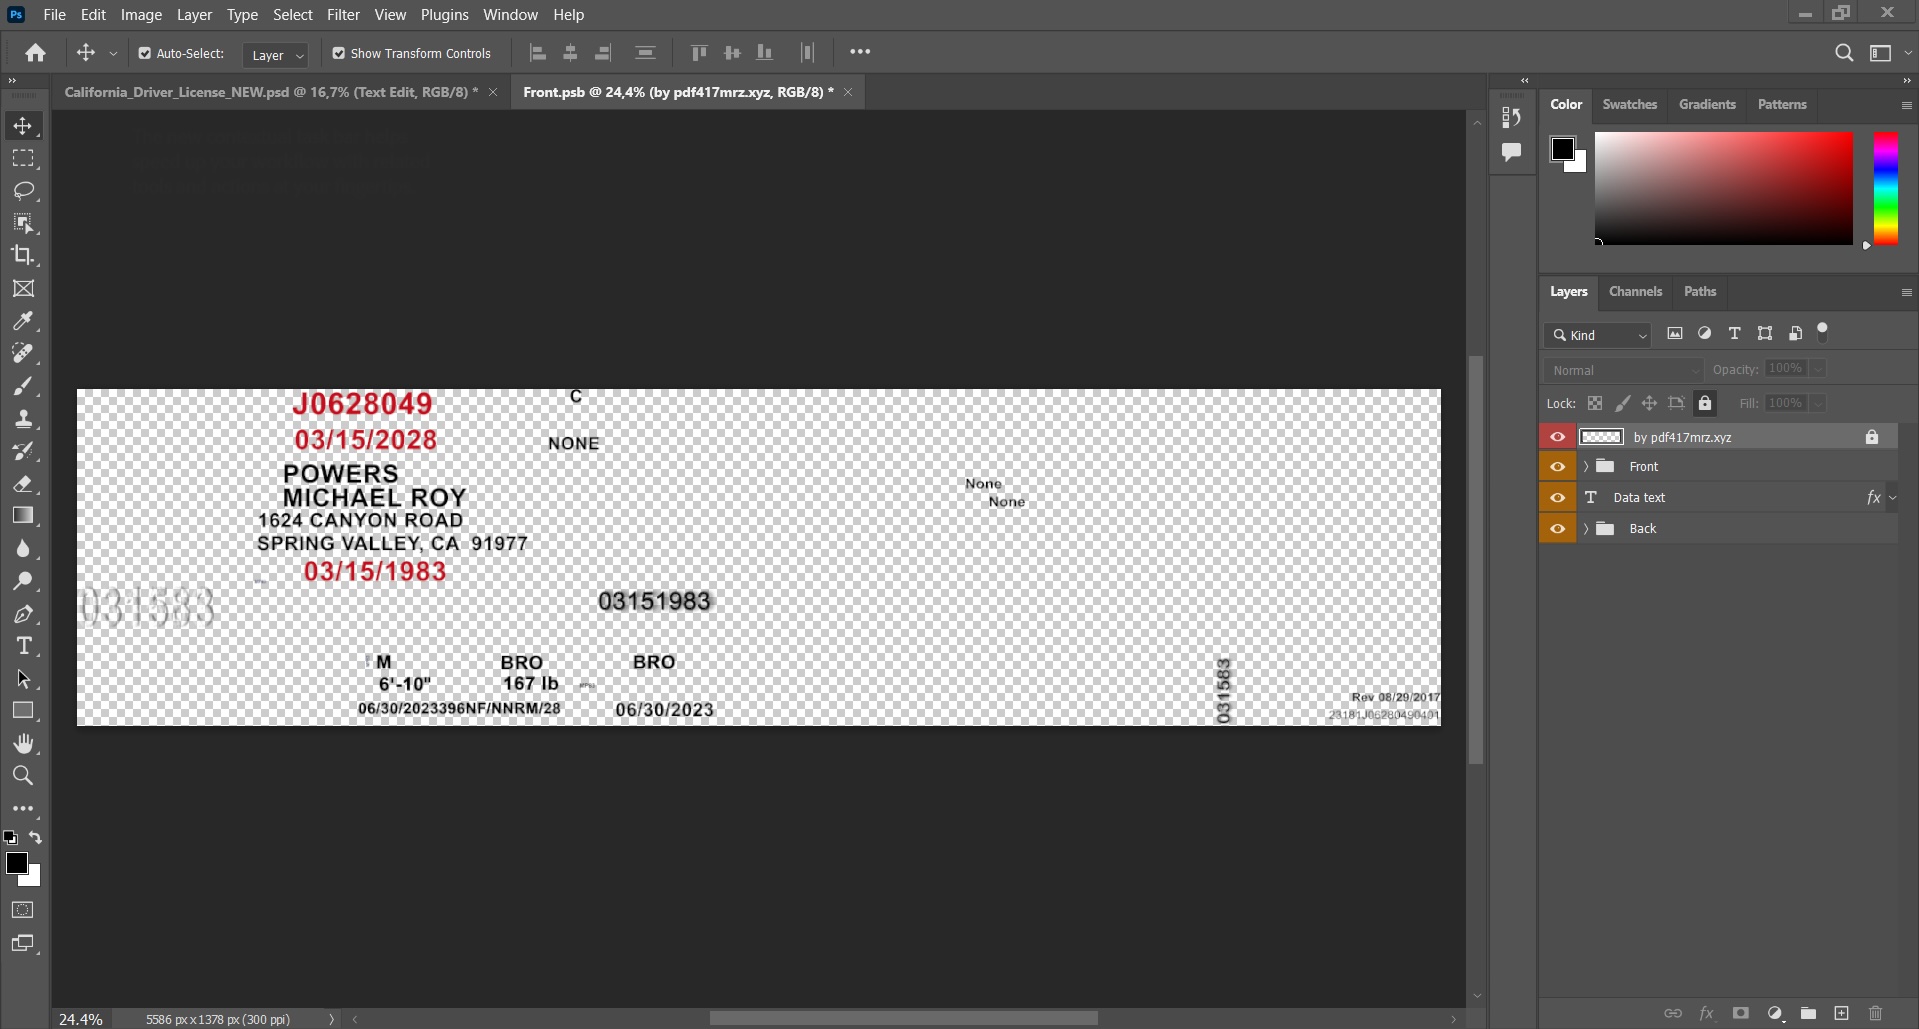
Now, on the left panel, select the T icon (text tool), and begin replacing the existing fake document info with your desired data.
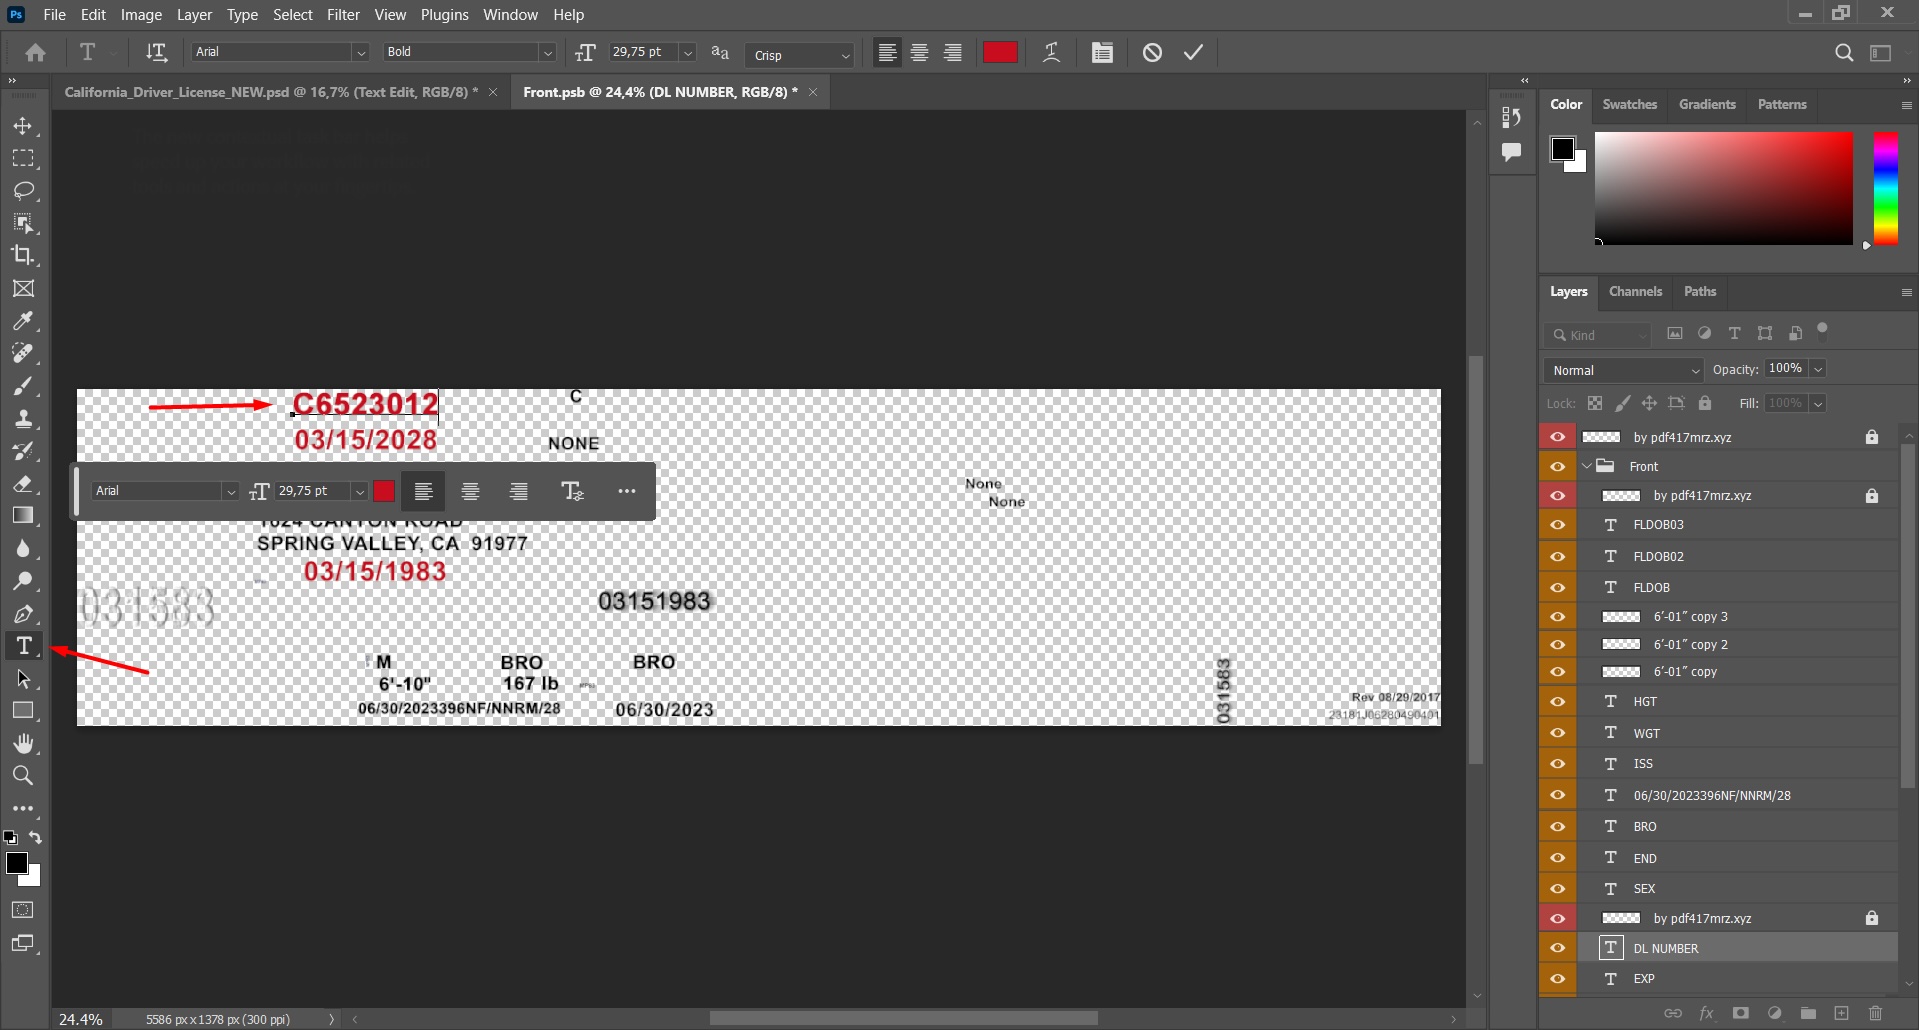
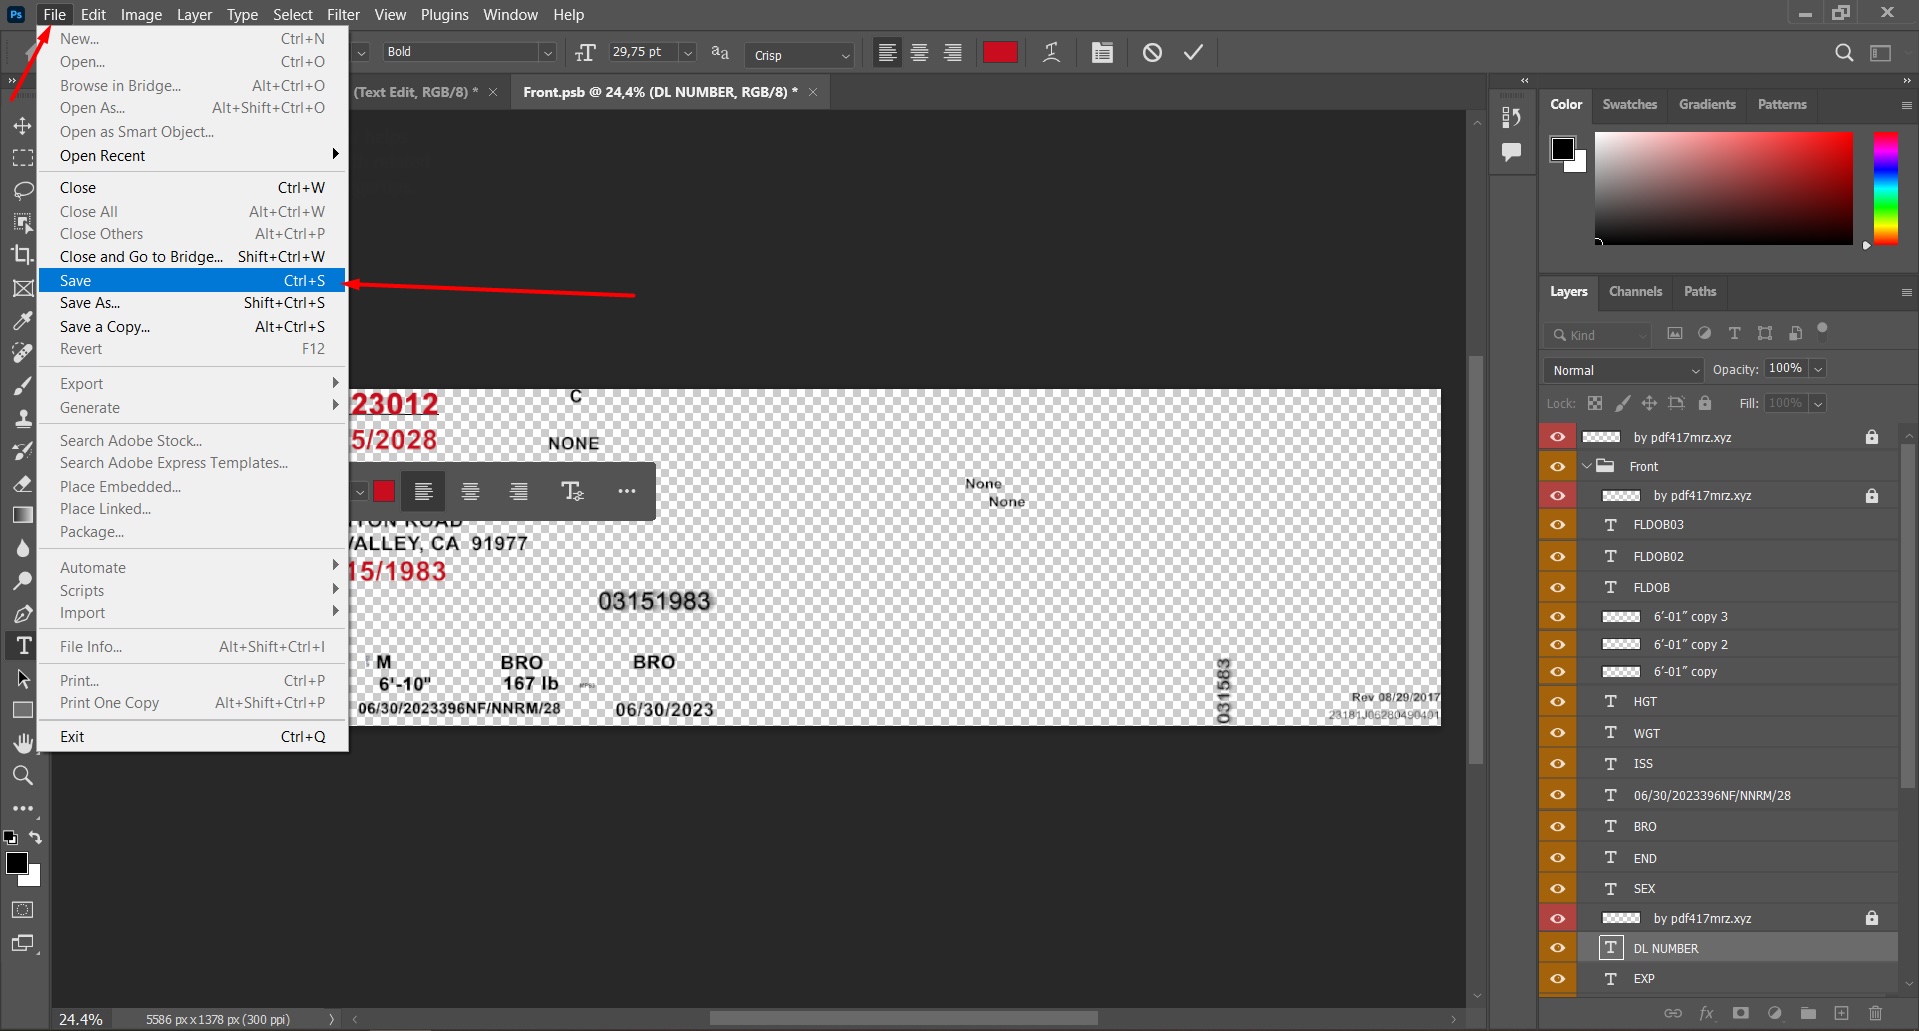
And just like that, we edit the text to match all the data you have. Once you've filled in all your information, you need to save the smart object so the changes appear in your PSD template.
You can save it in two ways:
- Press Ctrl+S
- Or go to File → Save As (top right)
Close the smart object window — this will apply your changes to the main card template.
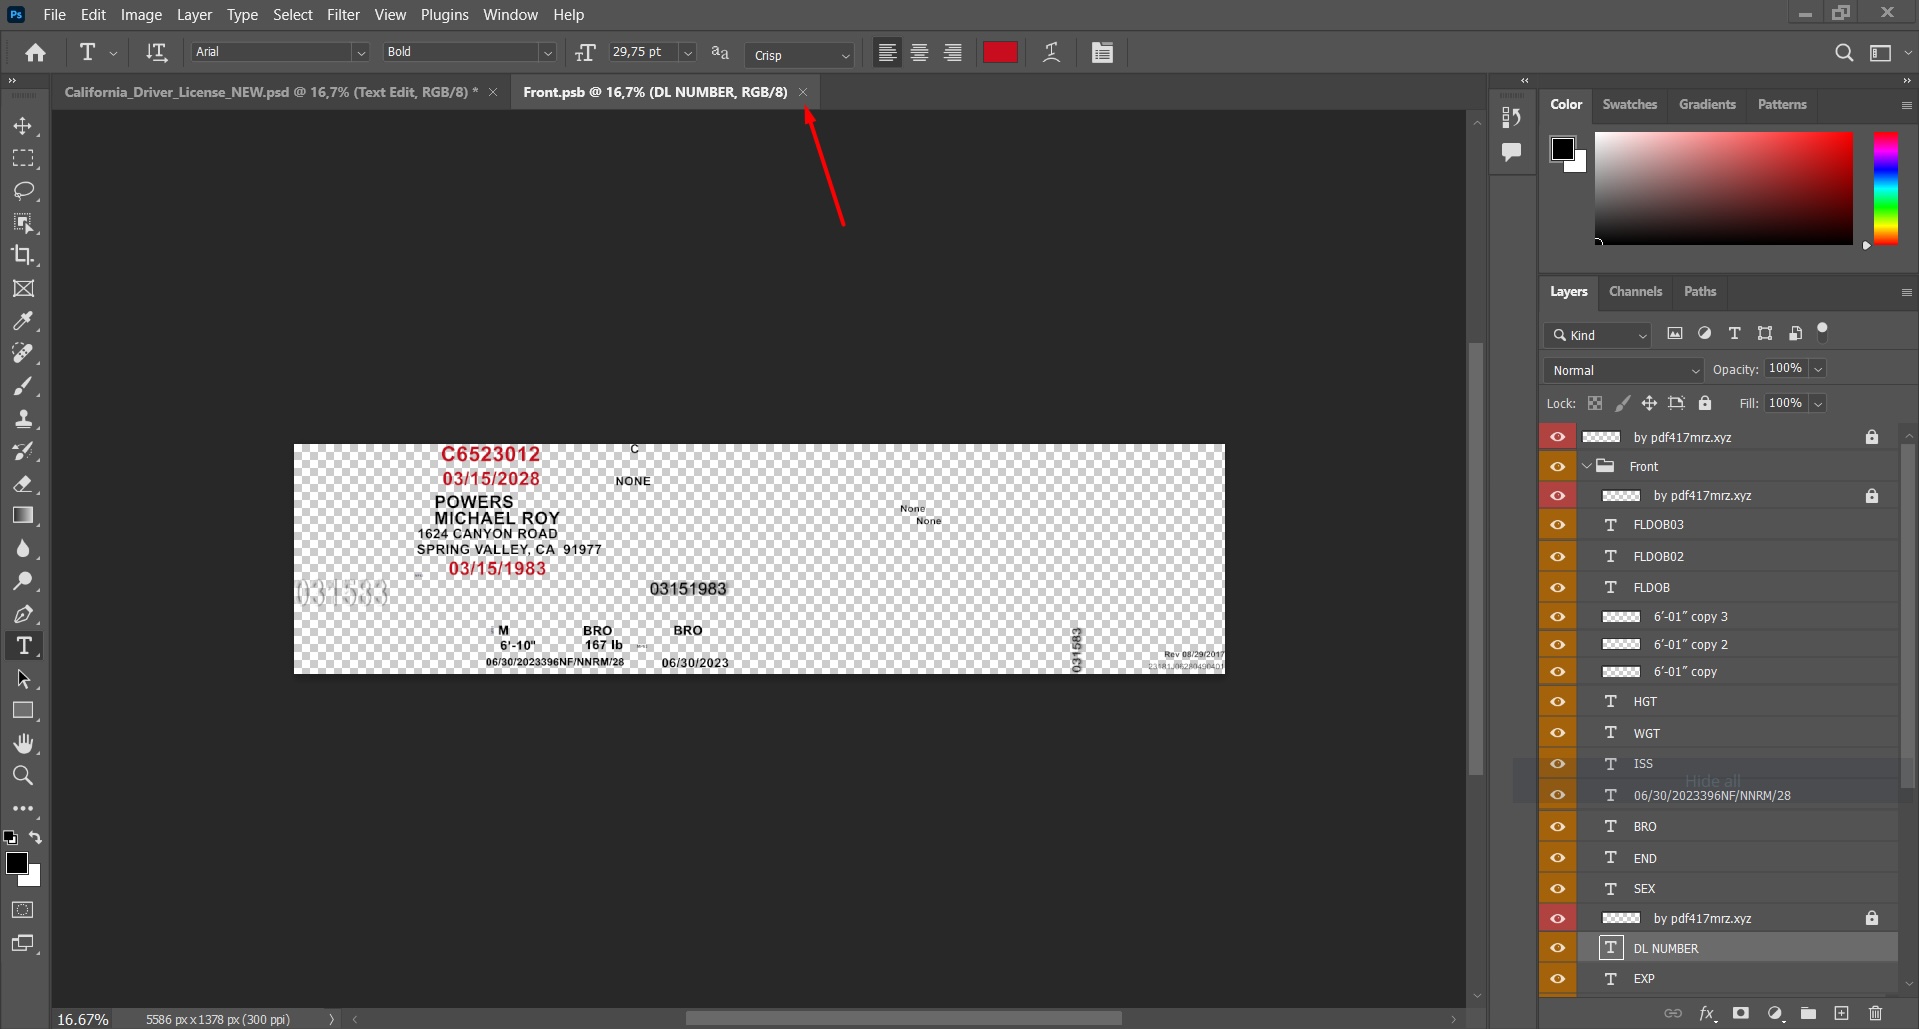
For example, if you edited the Document Number, it will now appear updated on the main ID file.
Step 4: Changing Photo and Signature
In Step 4 of customizing your id card template, focus on changing the photo and signature to ensure your identity card reflects accurate information. Whether you are using a passport template, driver license template, or a permit card, it’s essential to insert a high-quality image that meets the requirements of your specific region, such as the CA.
When inserting your photo, choose a clear and well-lit picture that aligns with the custom specifications of your identification needs.
Changing the Photo in the ID PSD Template
Next, we change the photo and signature using the same method we used to edit the text.
Look in the layers panel (bottom right) for the folder named Photo.

Left-click on it, and a smart object containing the photo will open.
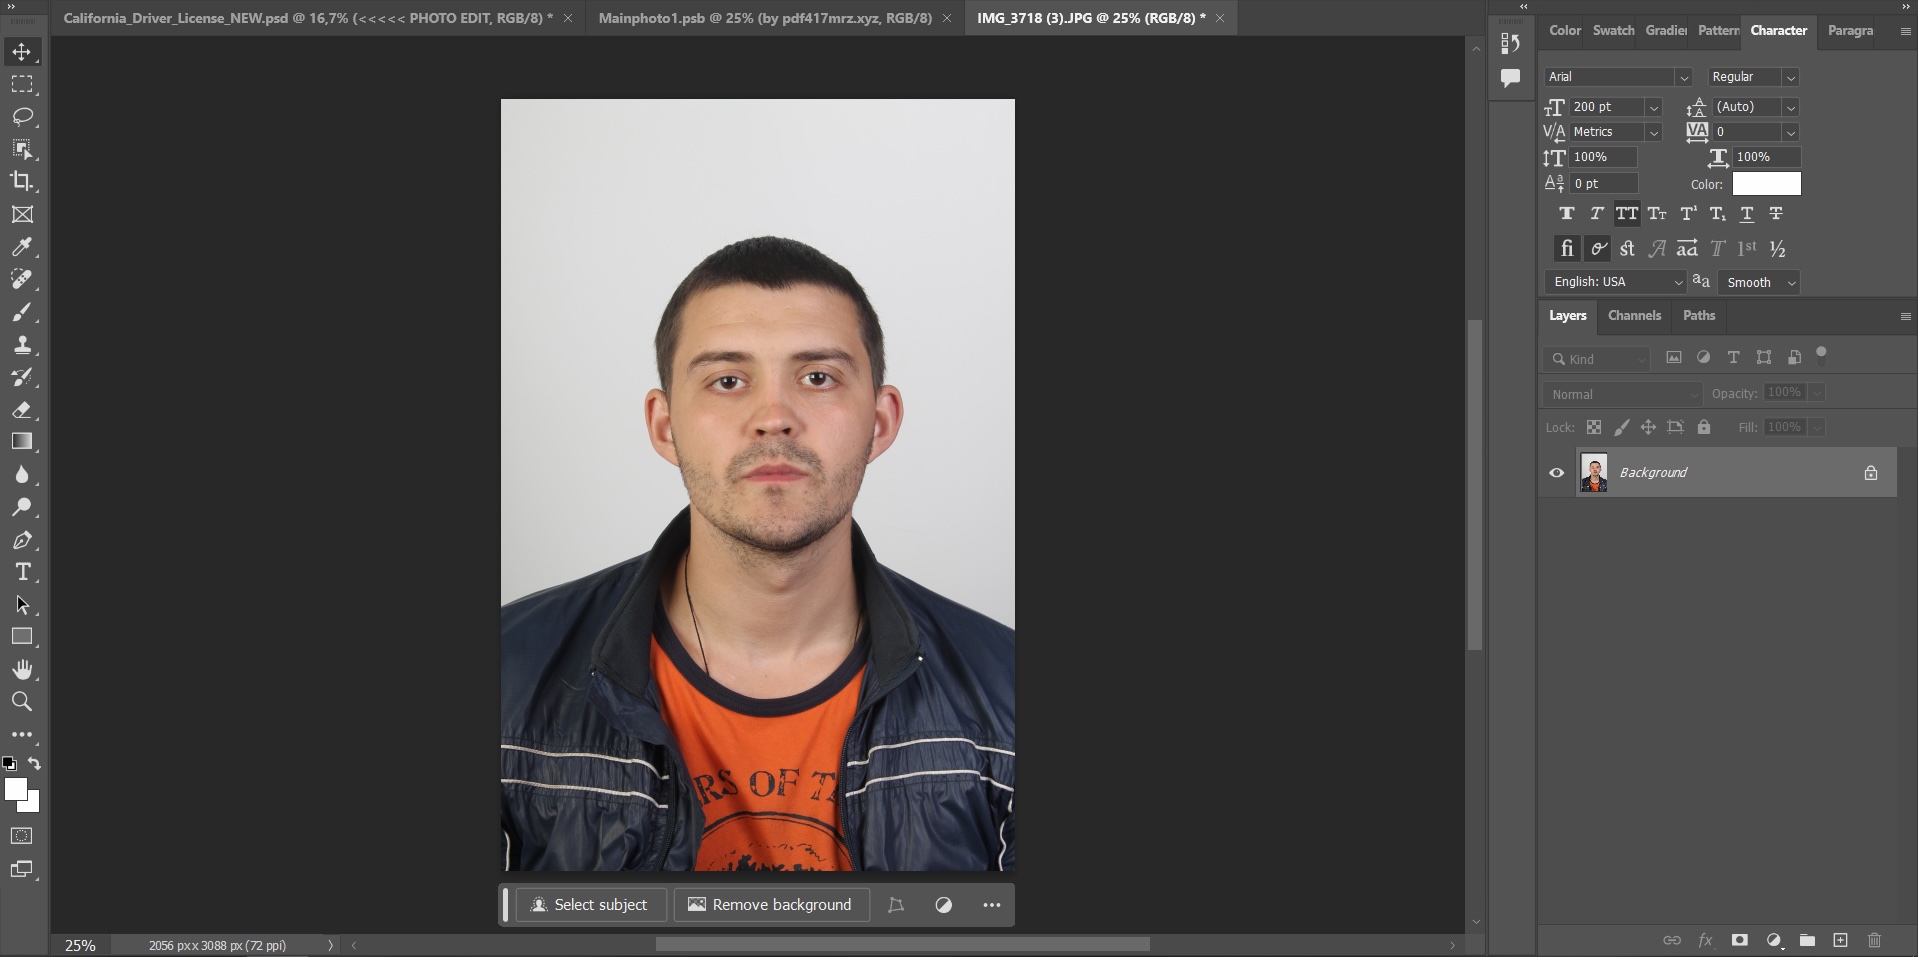
Now you’ll see the photo in front of you. To replace it with your own, follow these steps:
- Go to the File tab (top-left corner of Photoshop), click on it and choose Open (or press Ctrl+O).
- Locate the folder on your PC where your photo is saved.
- Once opened, drag and drop your image into the layers panel (bottom right).
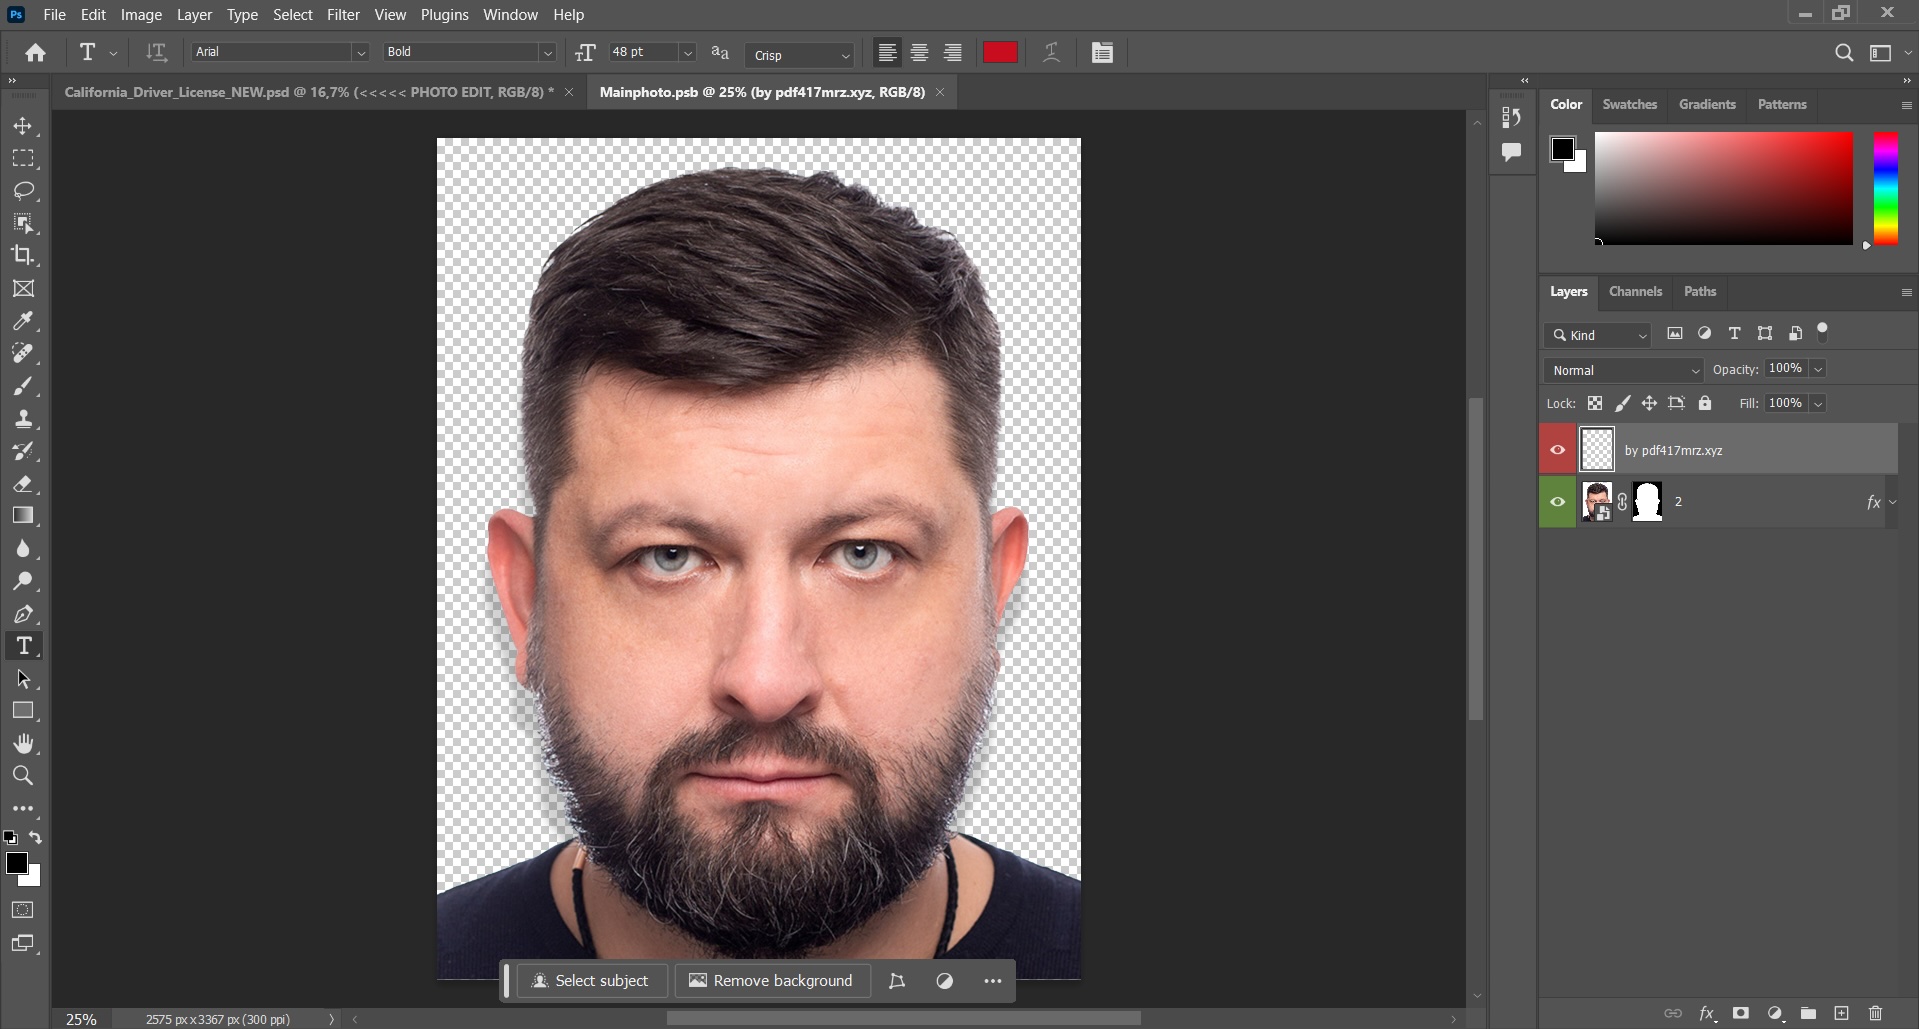
After you drag the photo into Photoshop, a new tab will open with your image.
Now we need to remove the background from the photo. Here's how to do it:
In my case, I'm using Photoshop 2024 which already includes a built-in “Remove Background” feature.
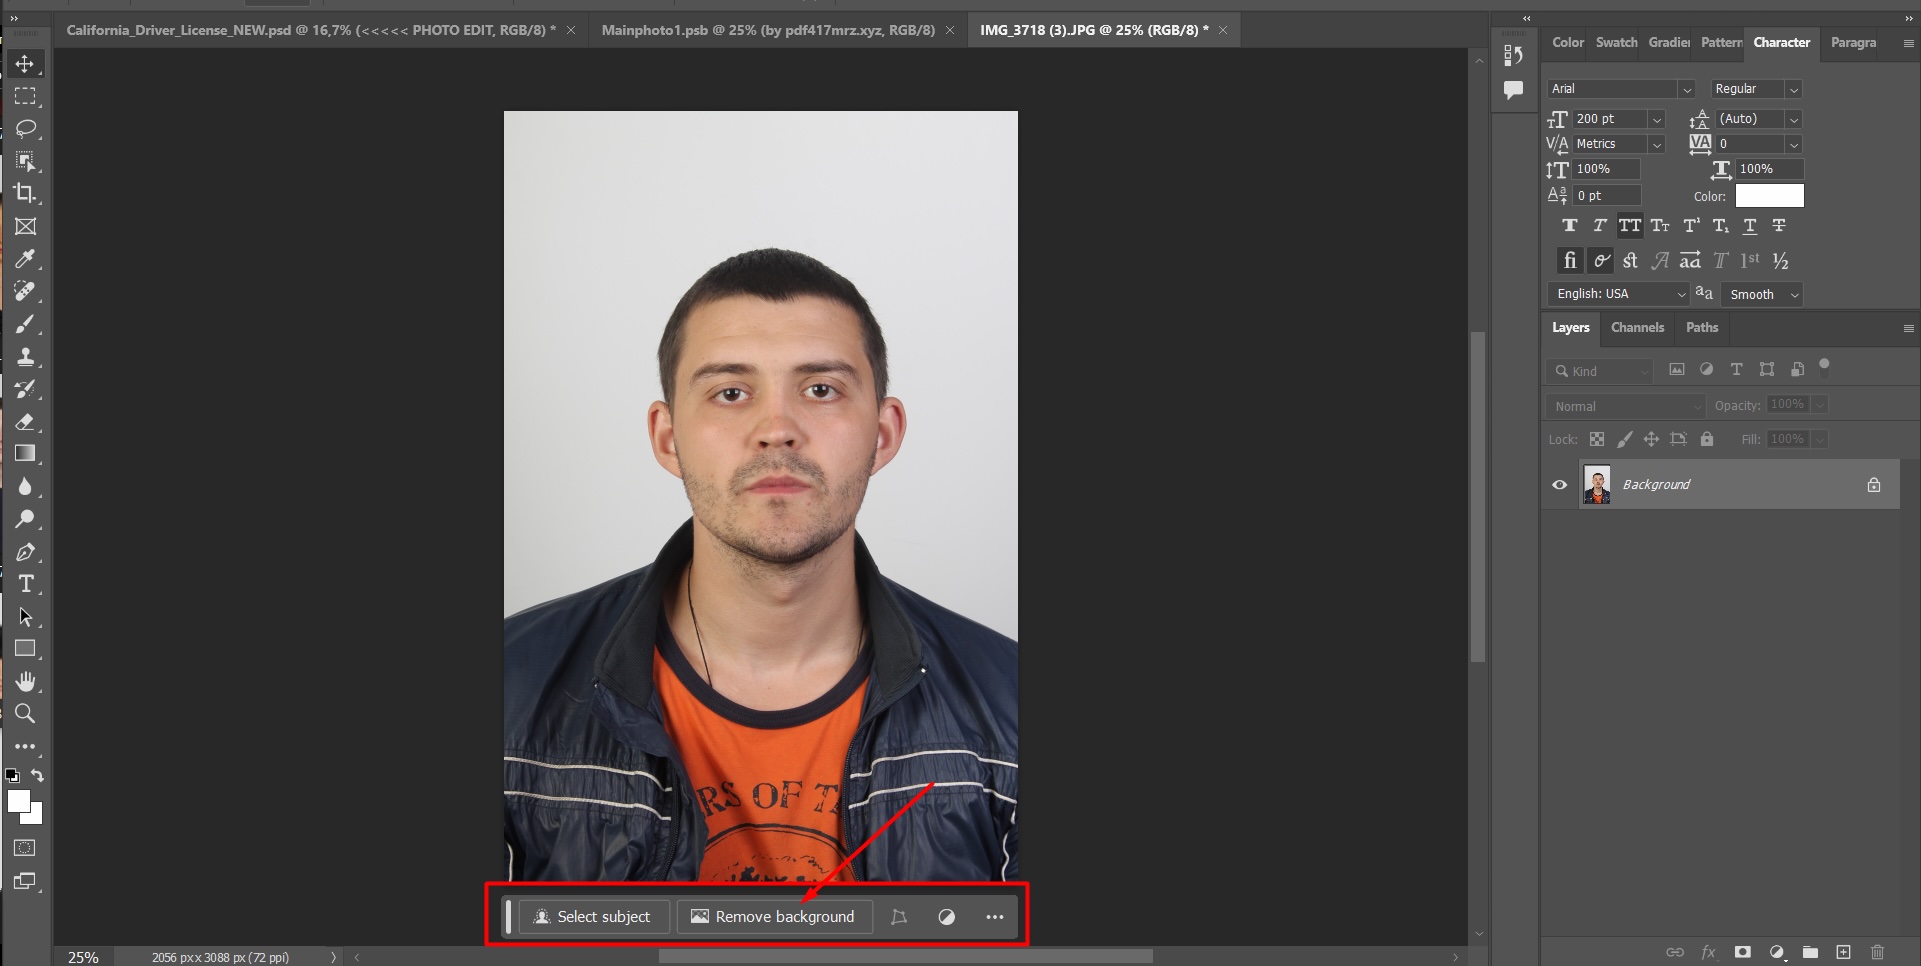
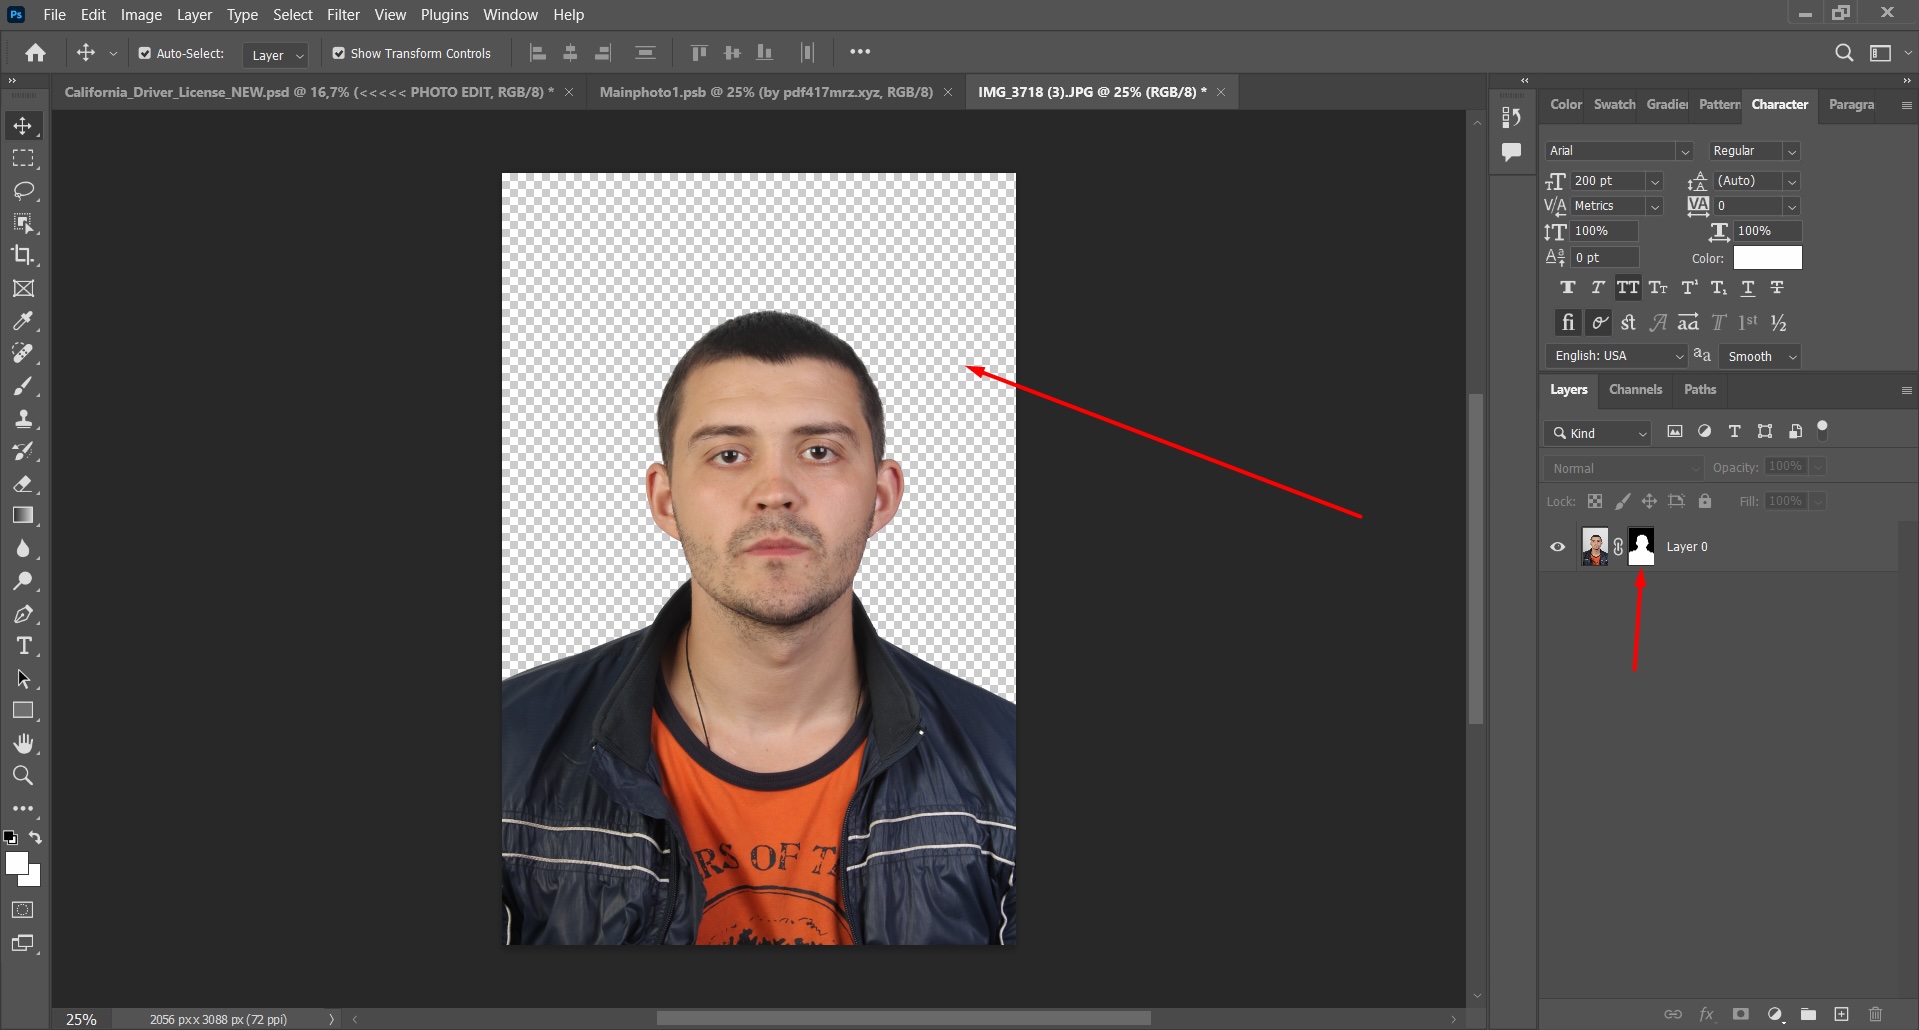
Click on the Remove Background button and wait for Photoshop to process the image. Once it's done, you'll see that the background has been removed.
In the layers panel, a Smart Filter will now appear next to your photo layer.
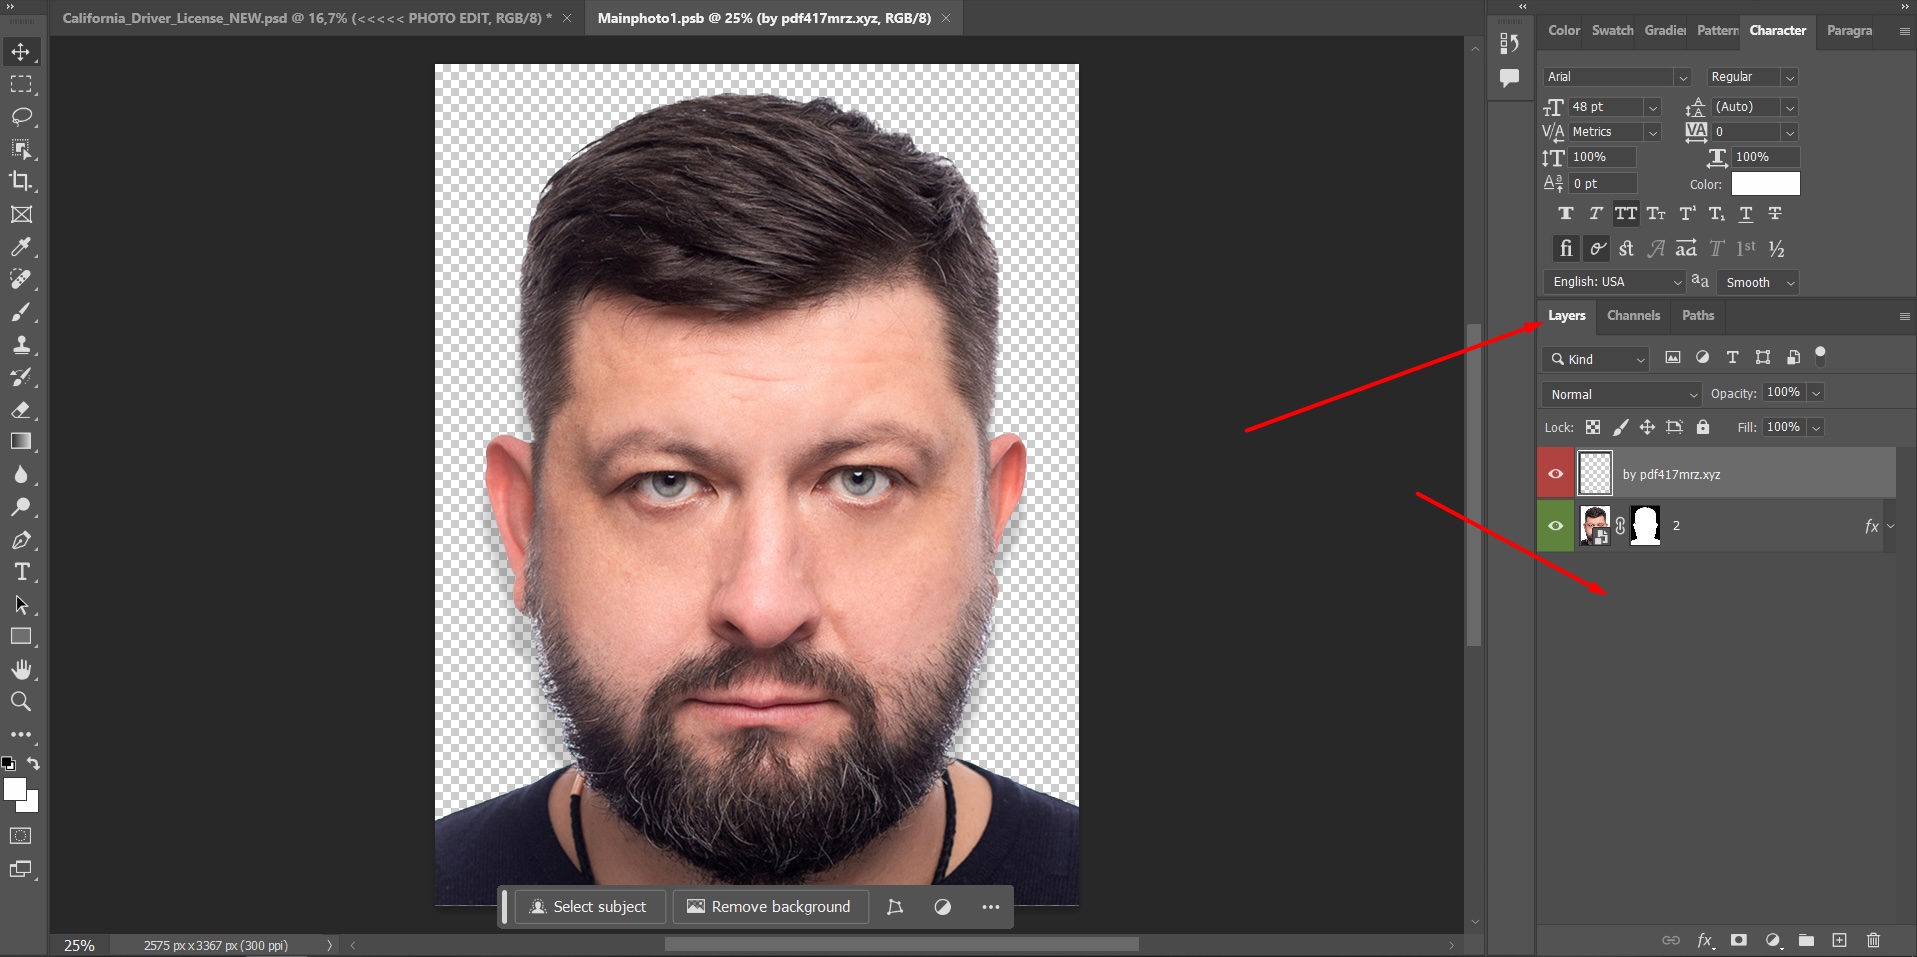
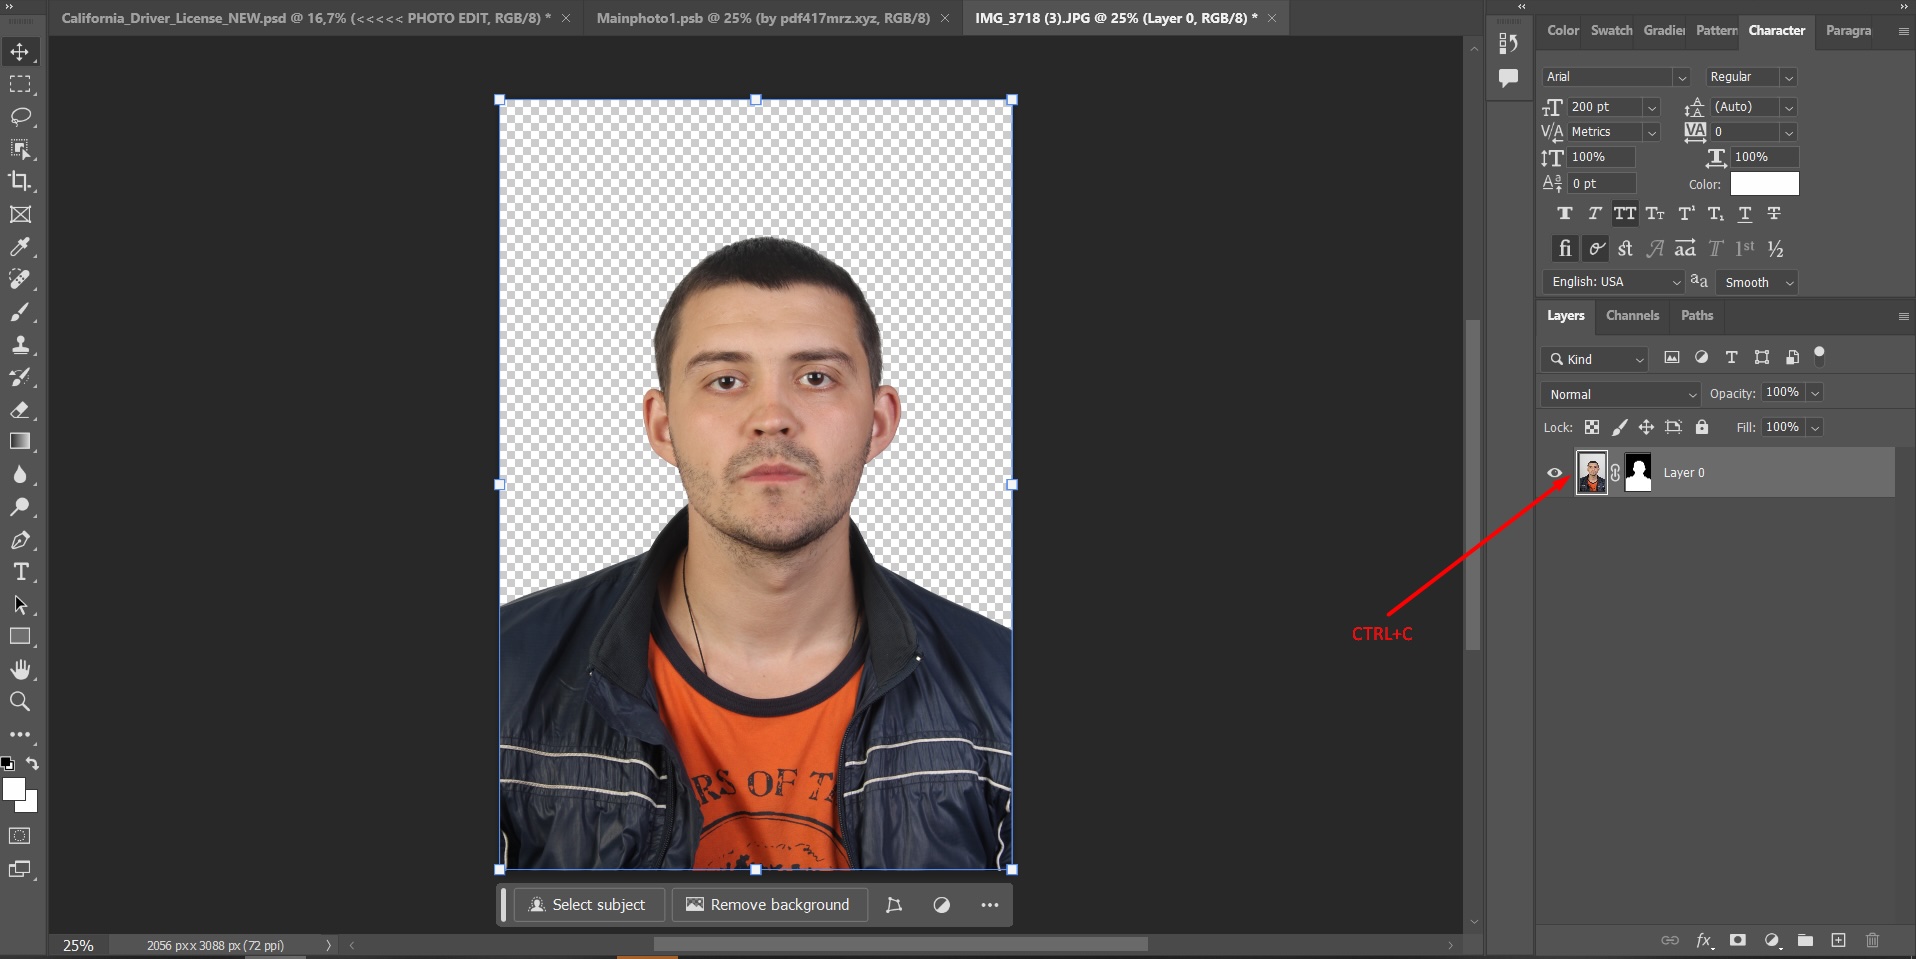
Now, click on the photo and press Ctrl+C to copy it.
Next, go back to the previous tab (the smart object with the photo), and paste your image using the shortcut Ctrl+V.
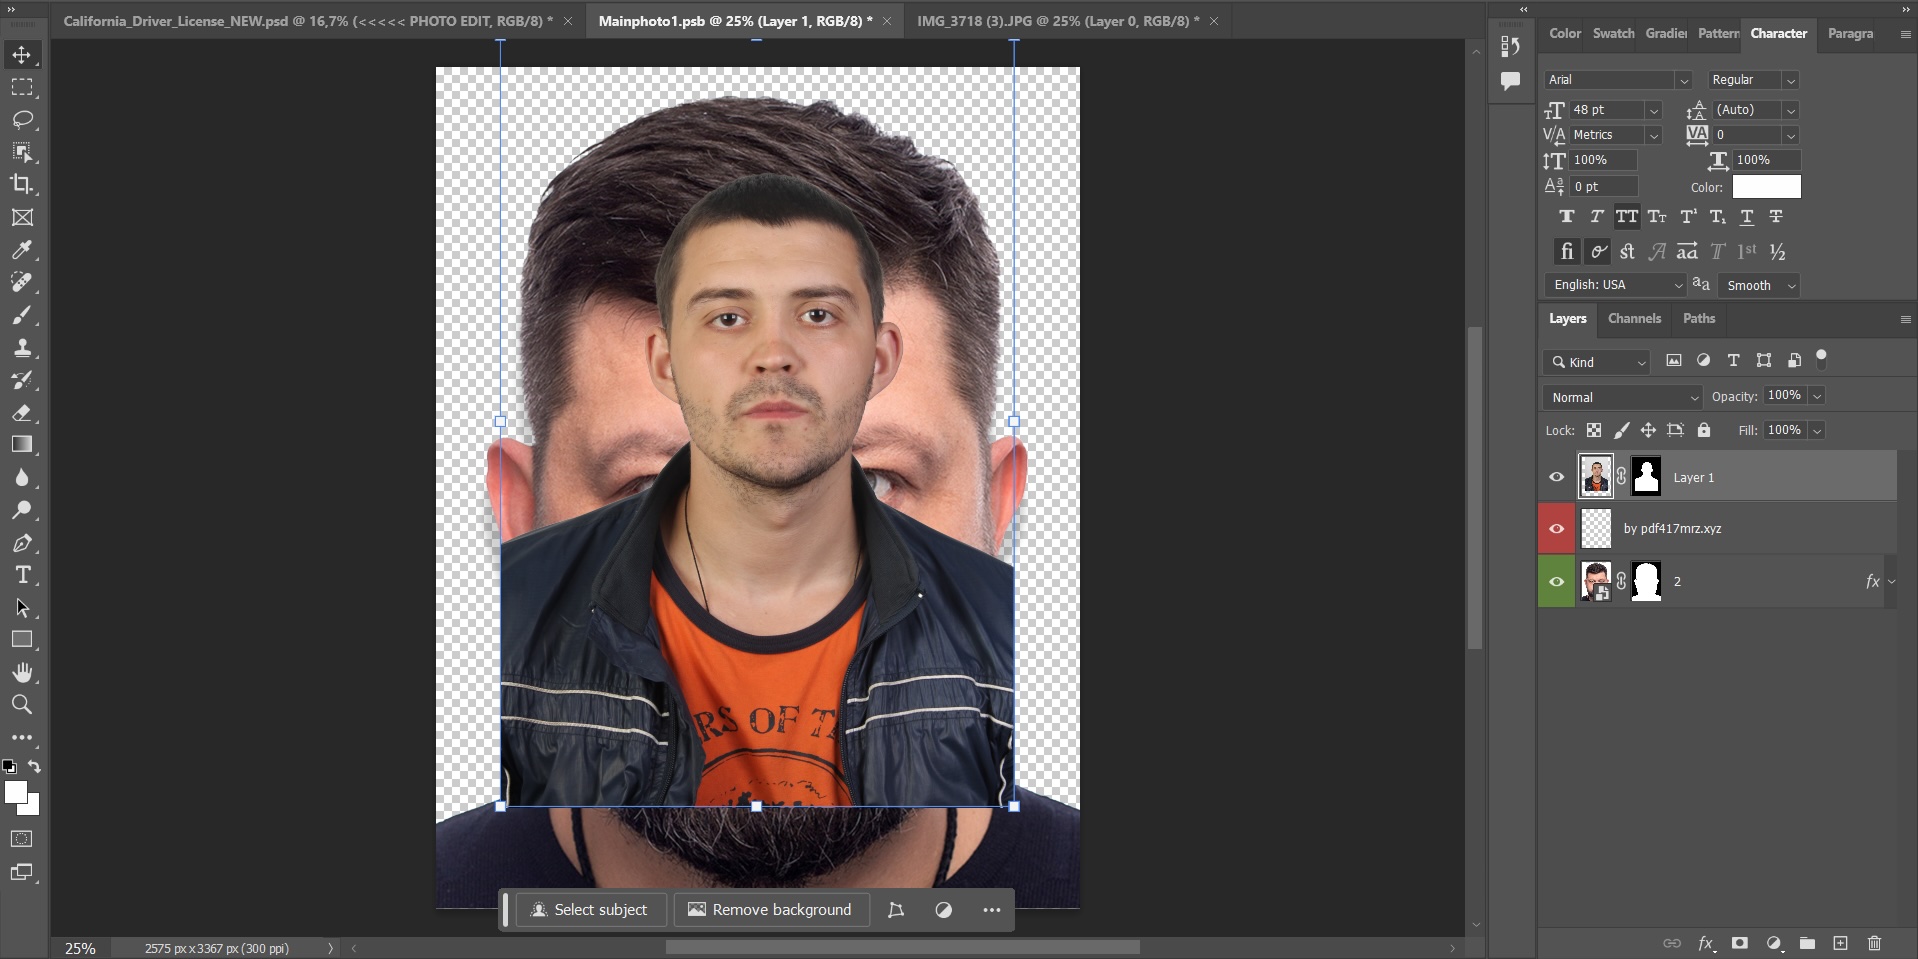
- Now hide or delete the old photo layer.
- Then, using transform/scale, you'll see 8 anchor points forming a box around the image.
- Use these to resize and adjust the photo to fit the correct dimensions in the ID card PSD template.
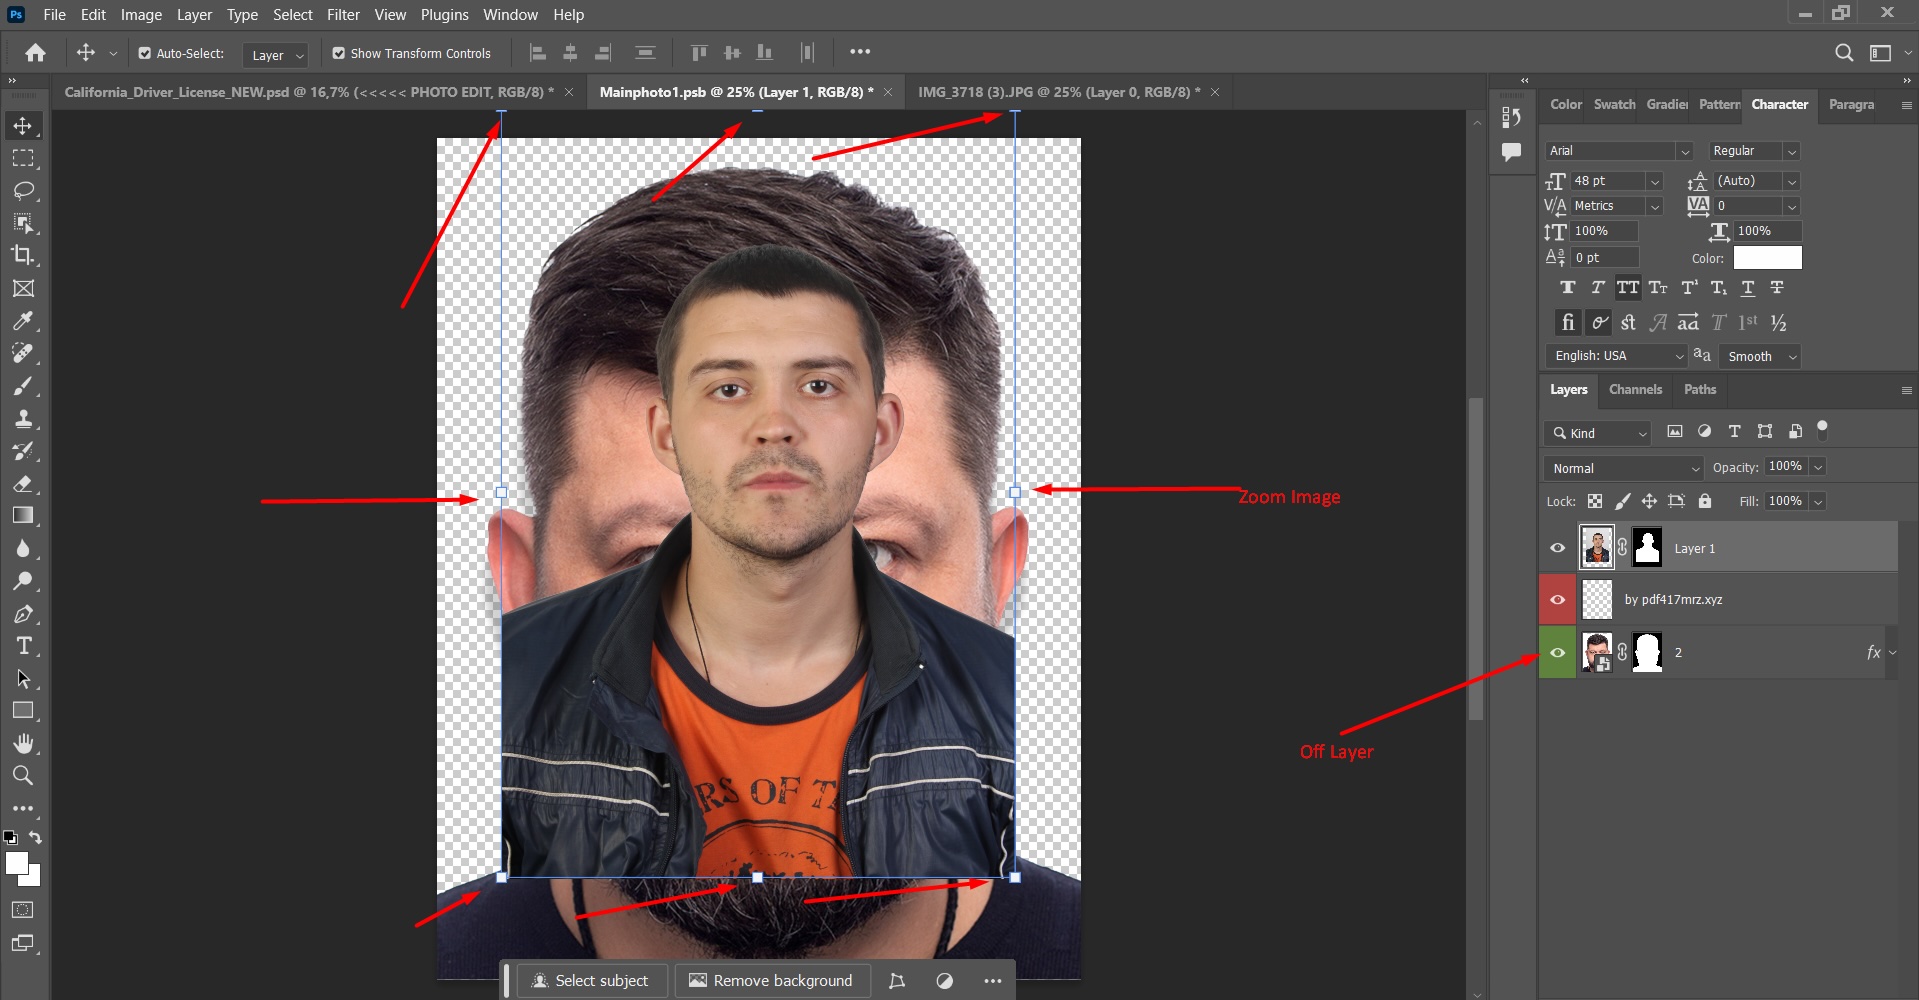
The final result should look like this: The original background photo should be gone, and the photo you prepared should now be perfectly positioned in its place using scaling within the PSD template.
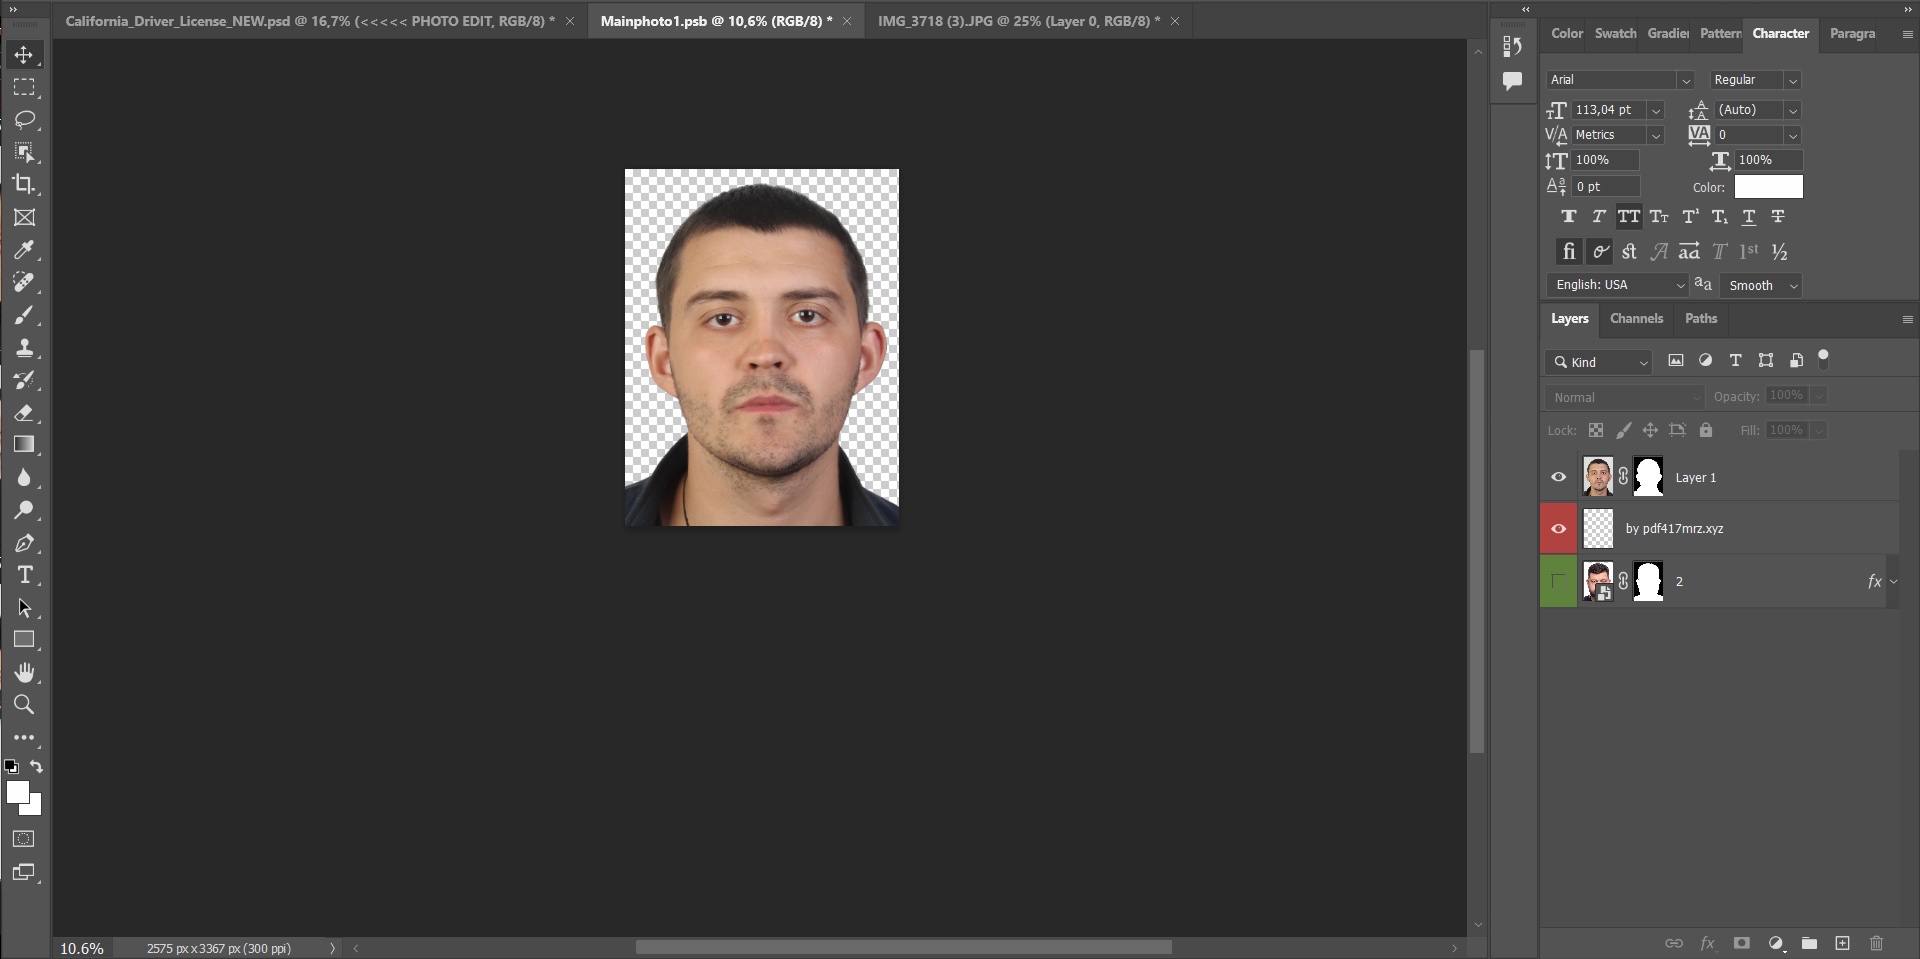
Next, press Ctrl+S or go to File → Save, then close the tabs and return to the main page of the PSD template.
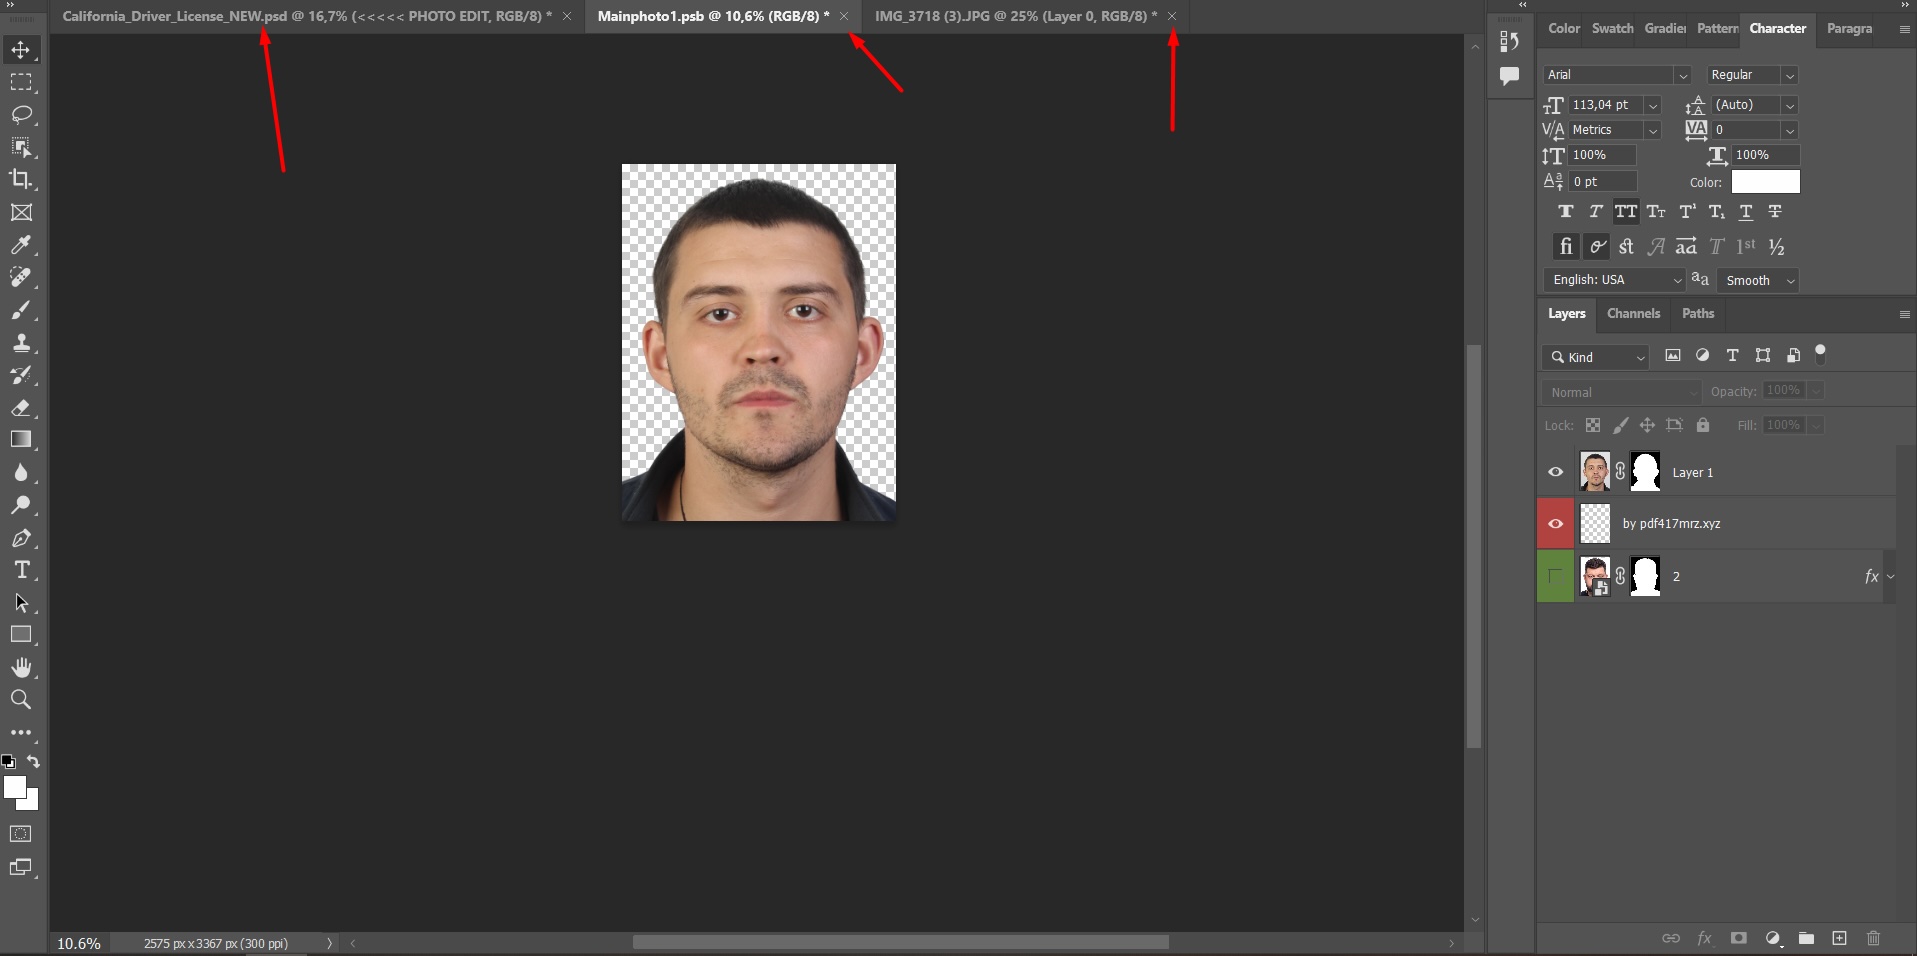
Now, both photos have been updated — the main photo and the miniature one.
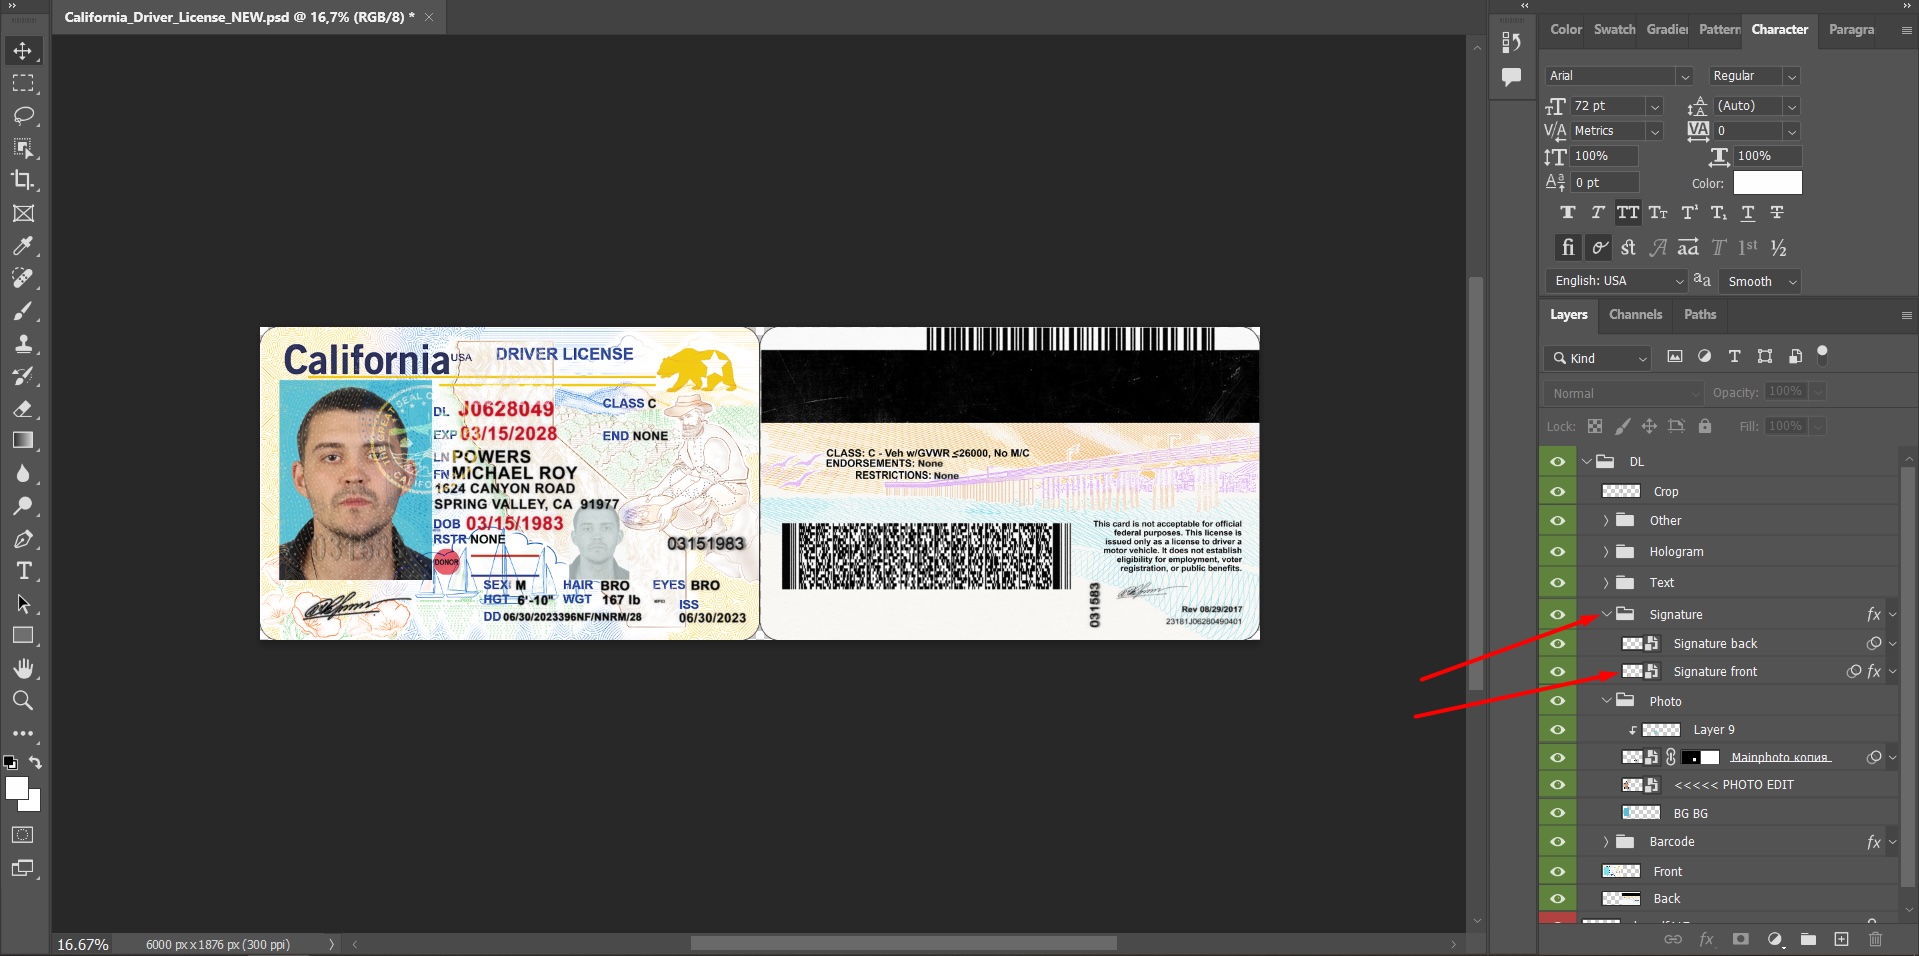
Changing Signature in the ID PSD Template
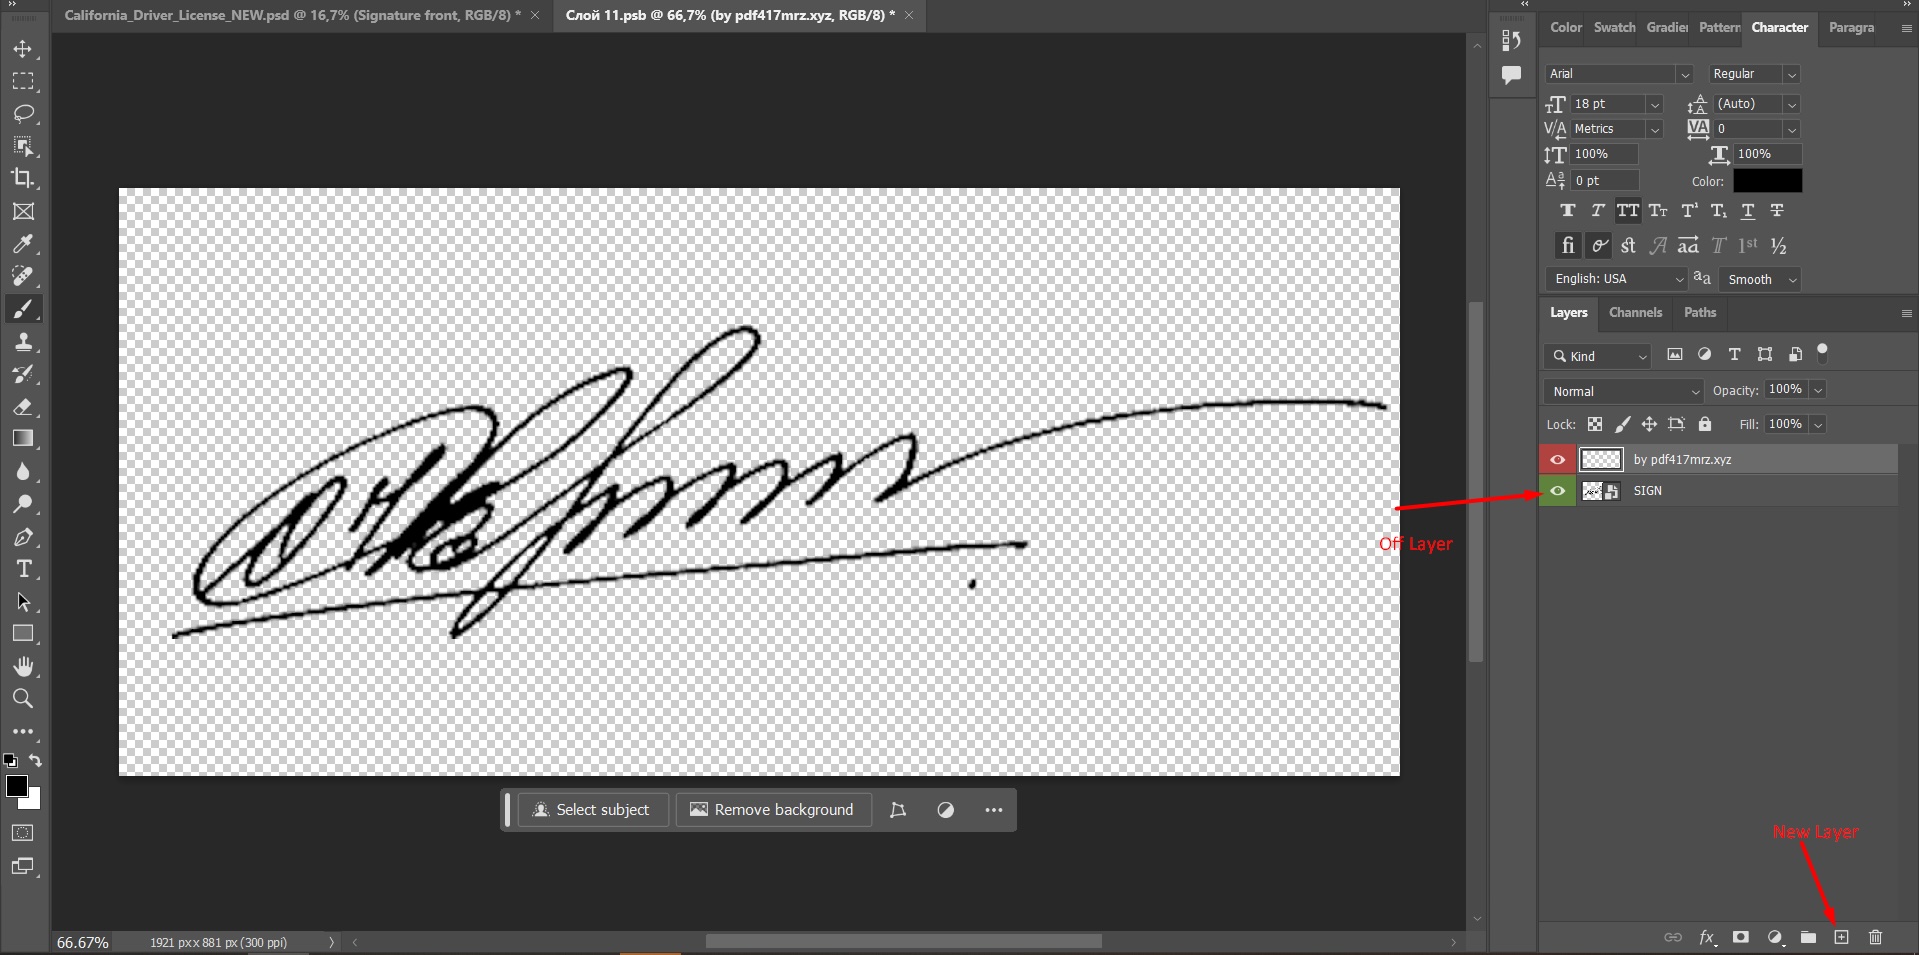
Next, we work on the signature. In the layers panel (bottom right), find the folder named Signature and open it by double-clicking with the left mouse button.
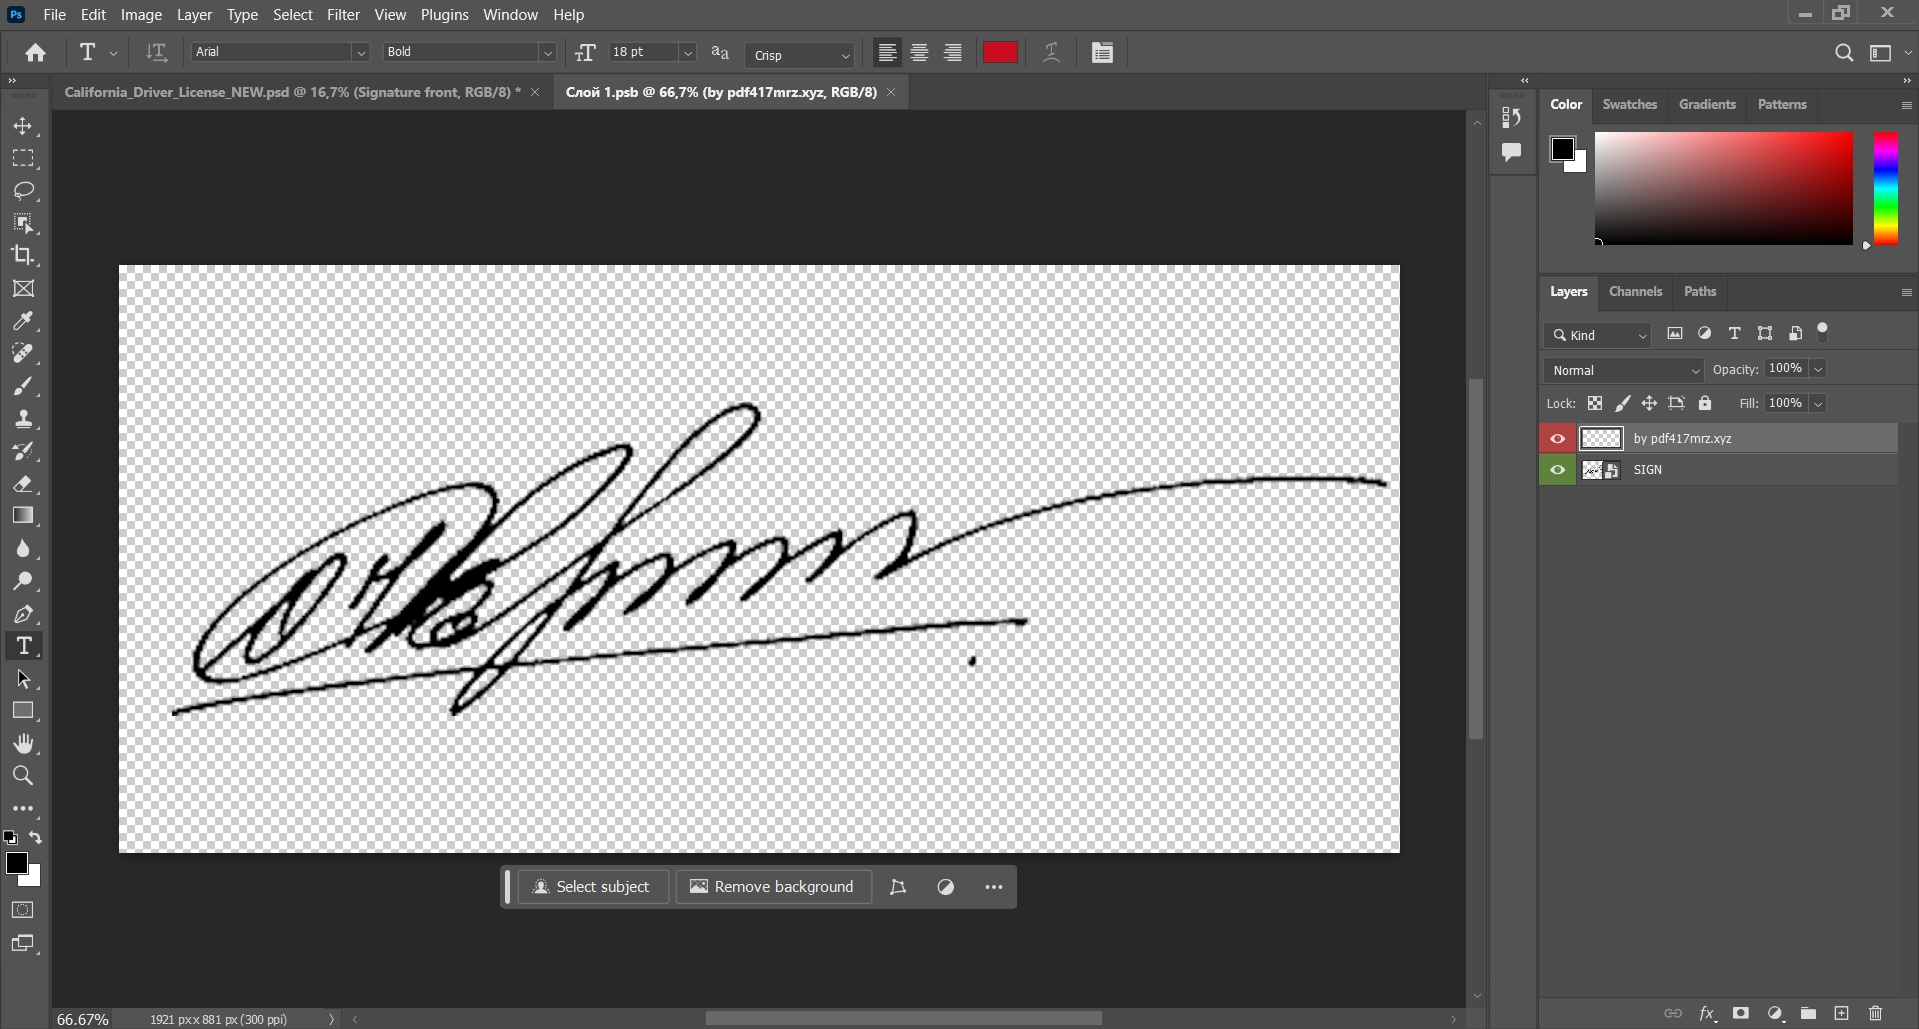
We have a few options for creating the signature.
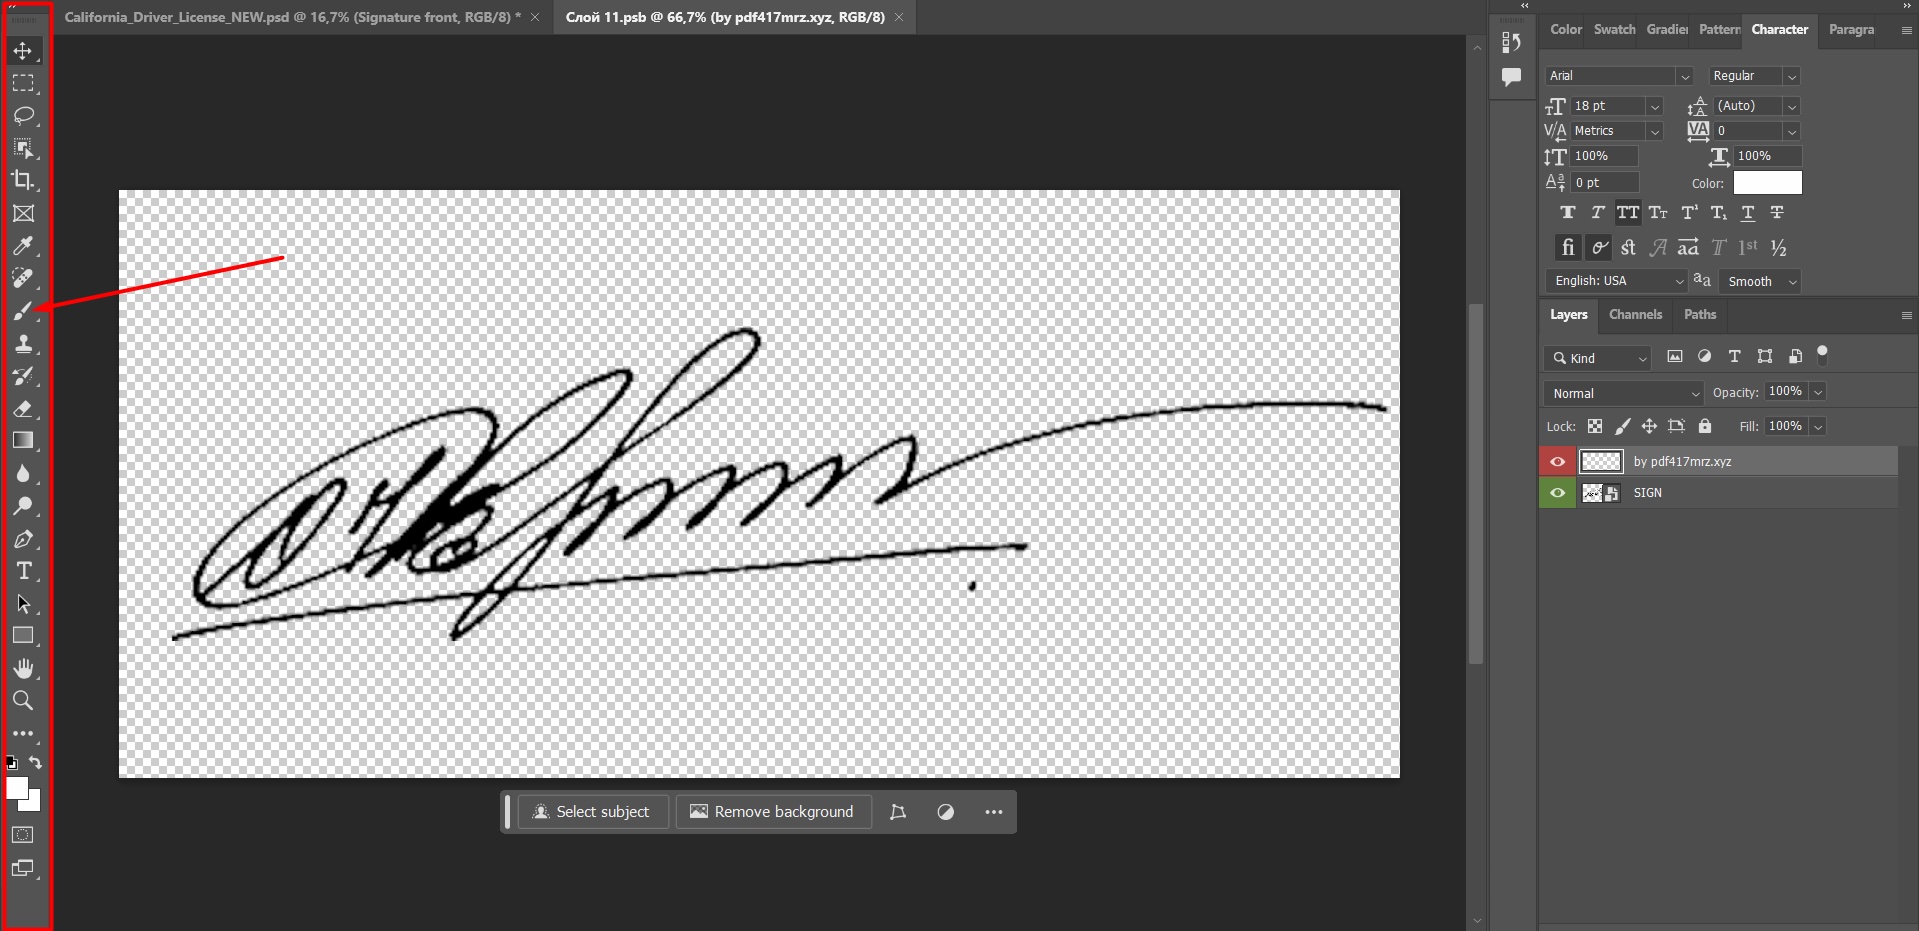
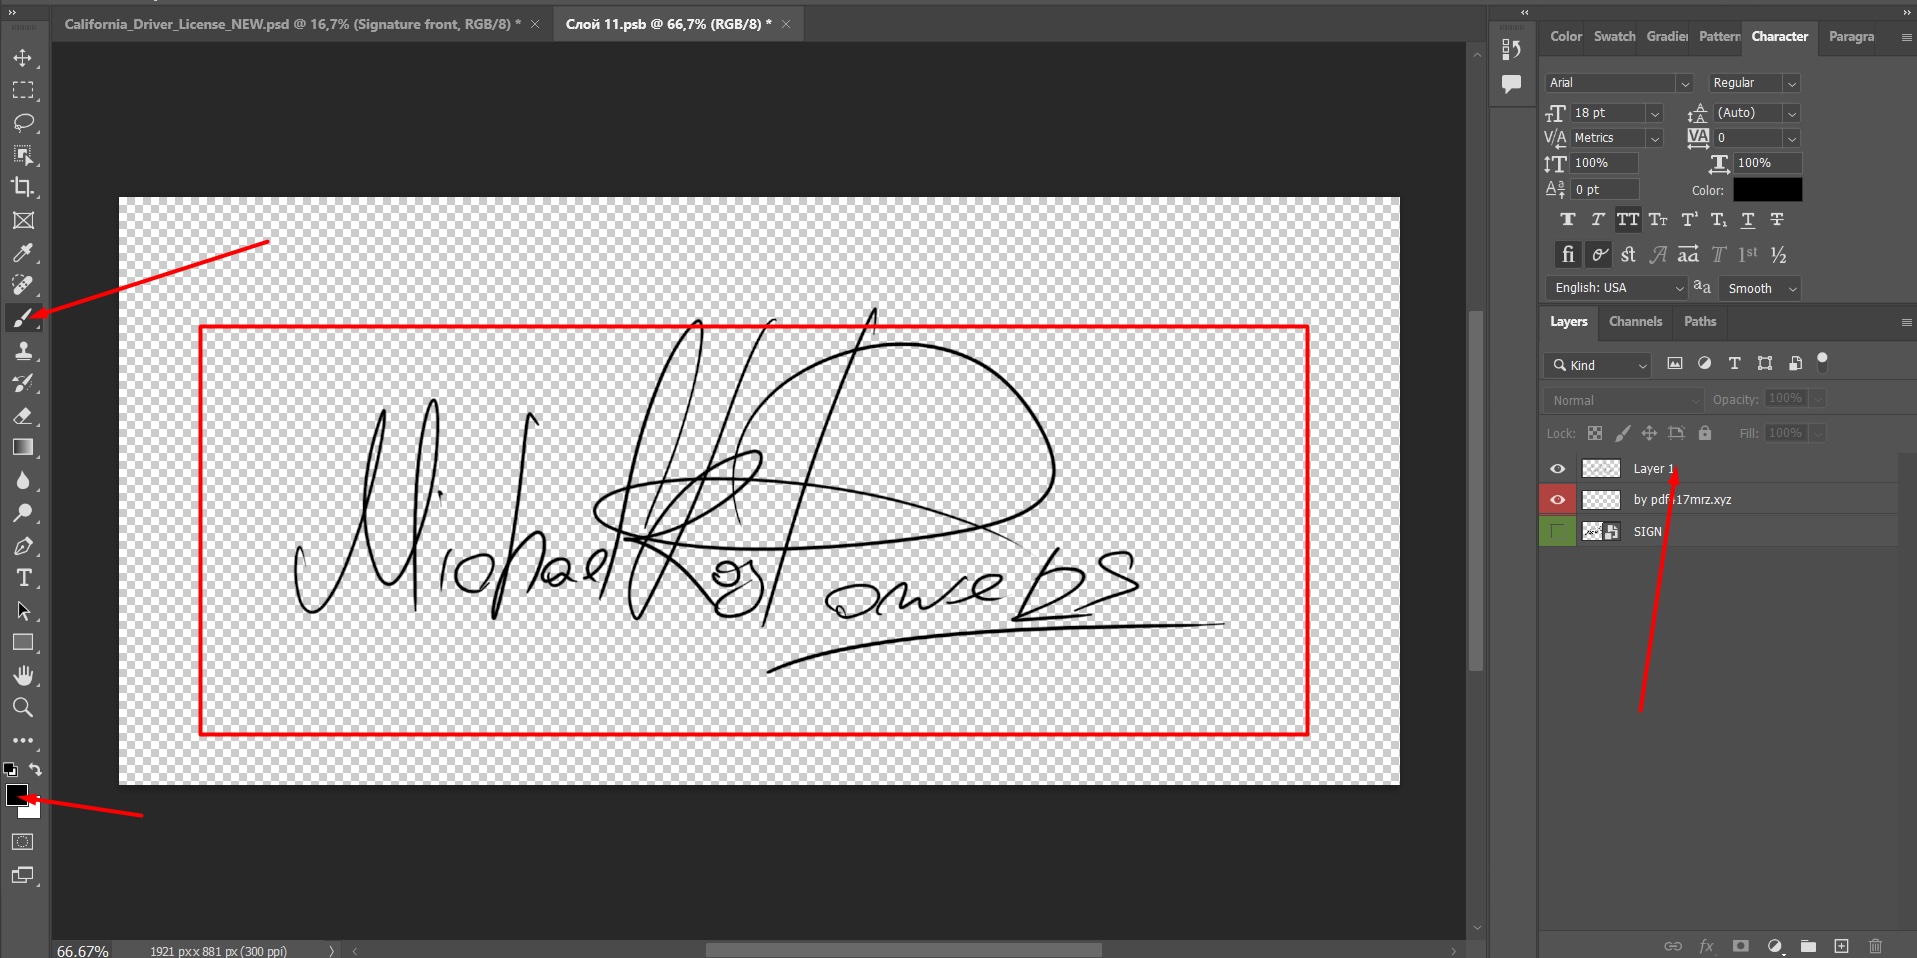
One way is to select the Brush Tool from the toolbar.
After selecting the brush tool, you need to choose the color and thickness. Open the settings menu by right-clicking (RMB) in the center of the screen.
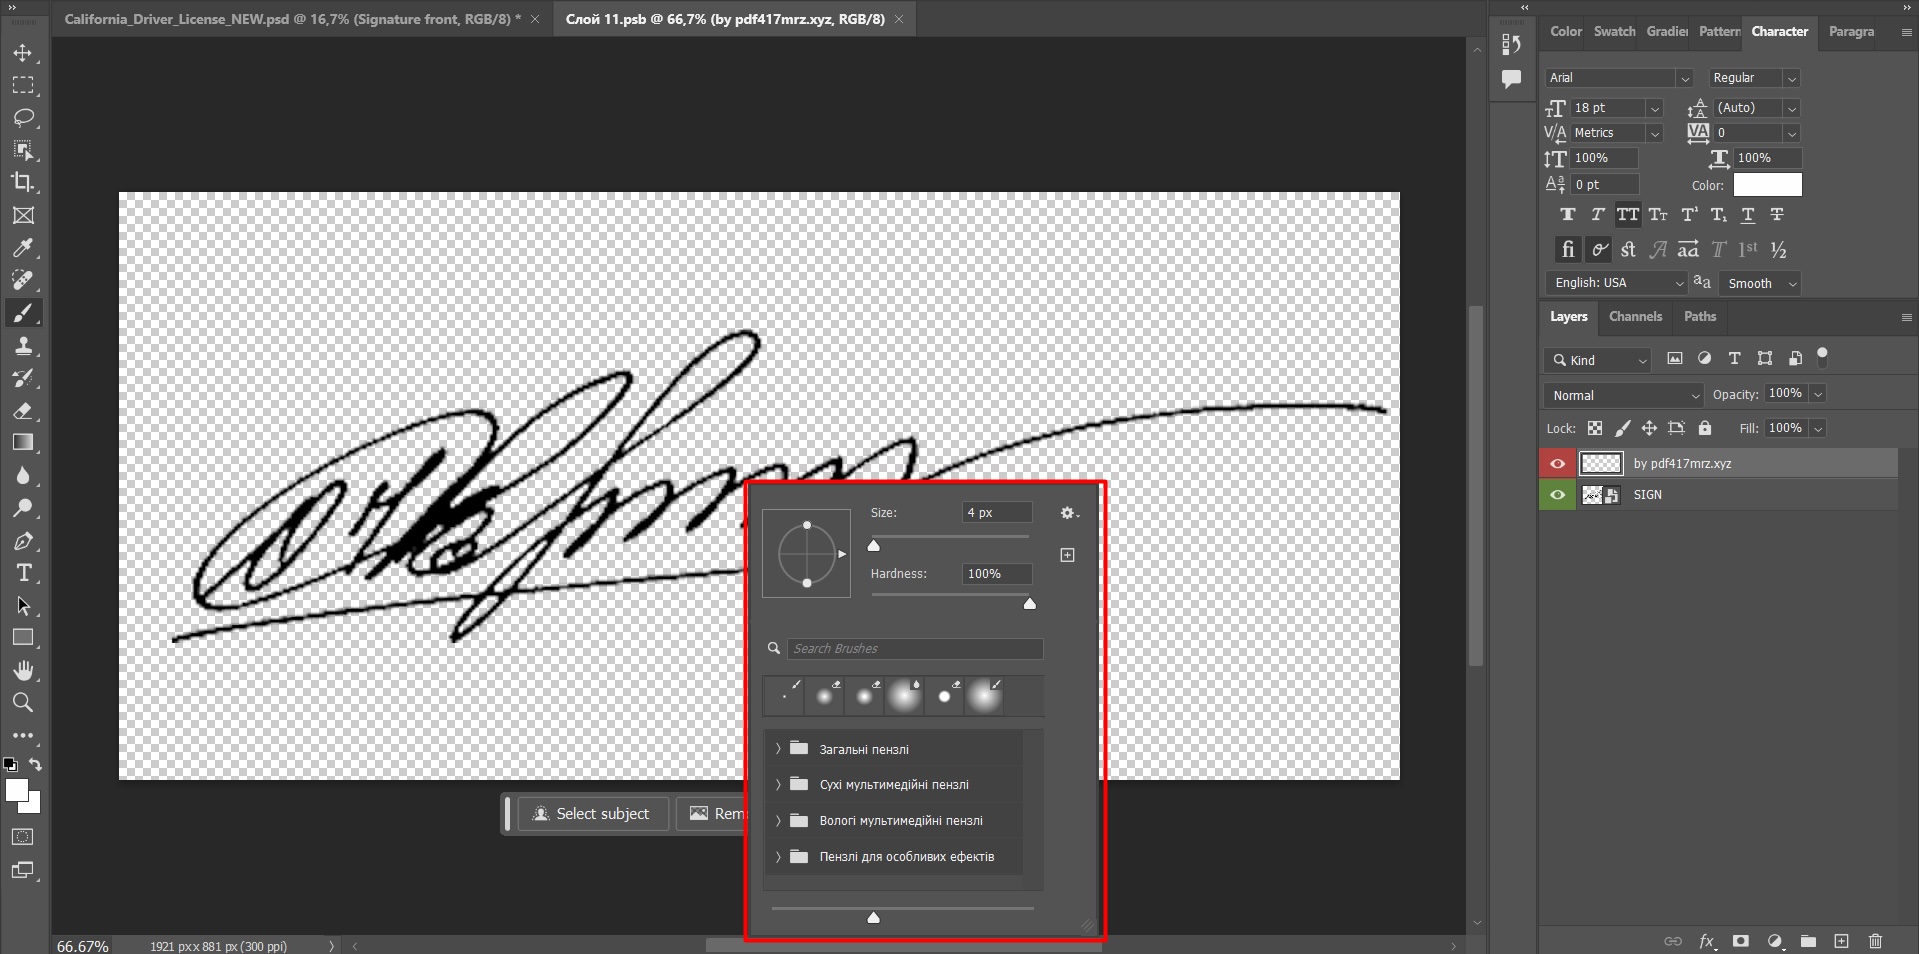
Each PSD template will require a different brush thickness. For this California Driver License PSD template, the thickness is 4px.
Now, select black as the color and start creating your signature.
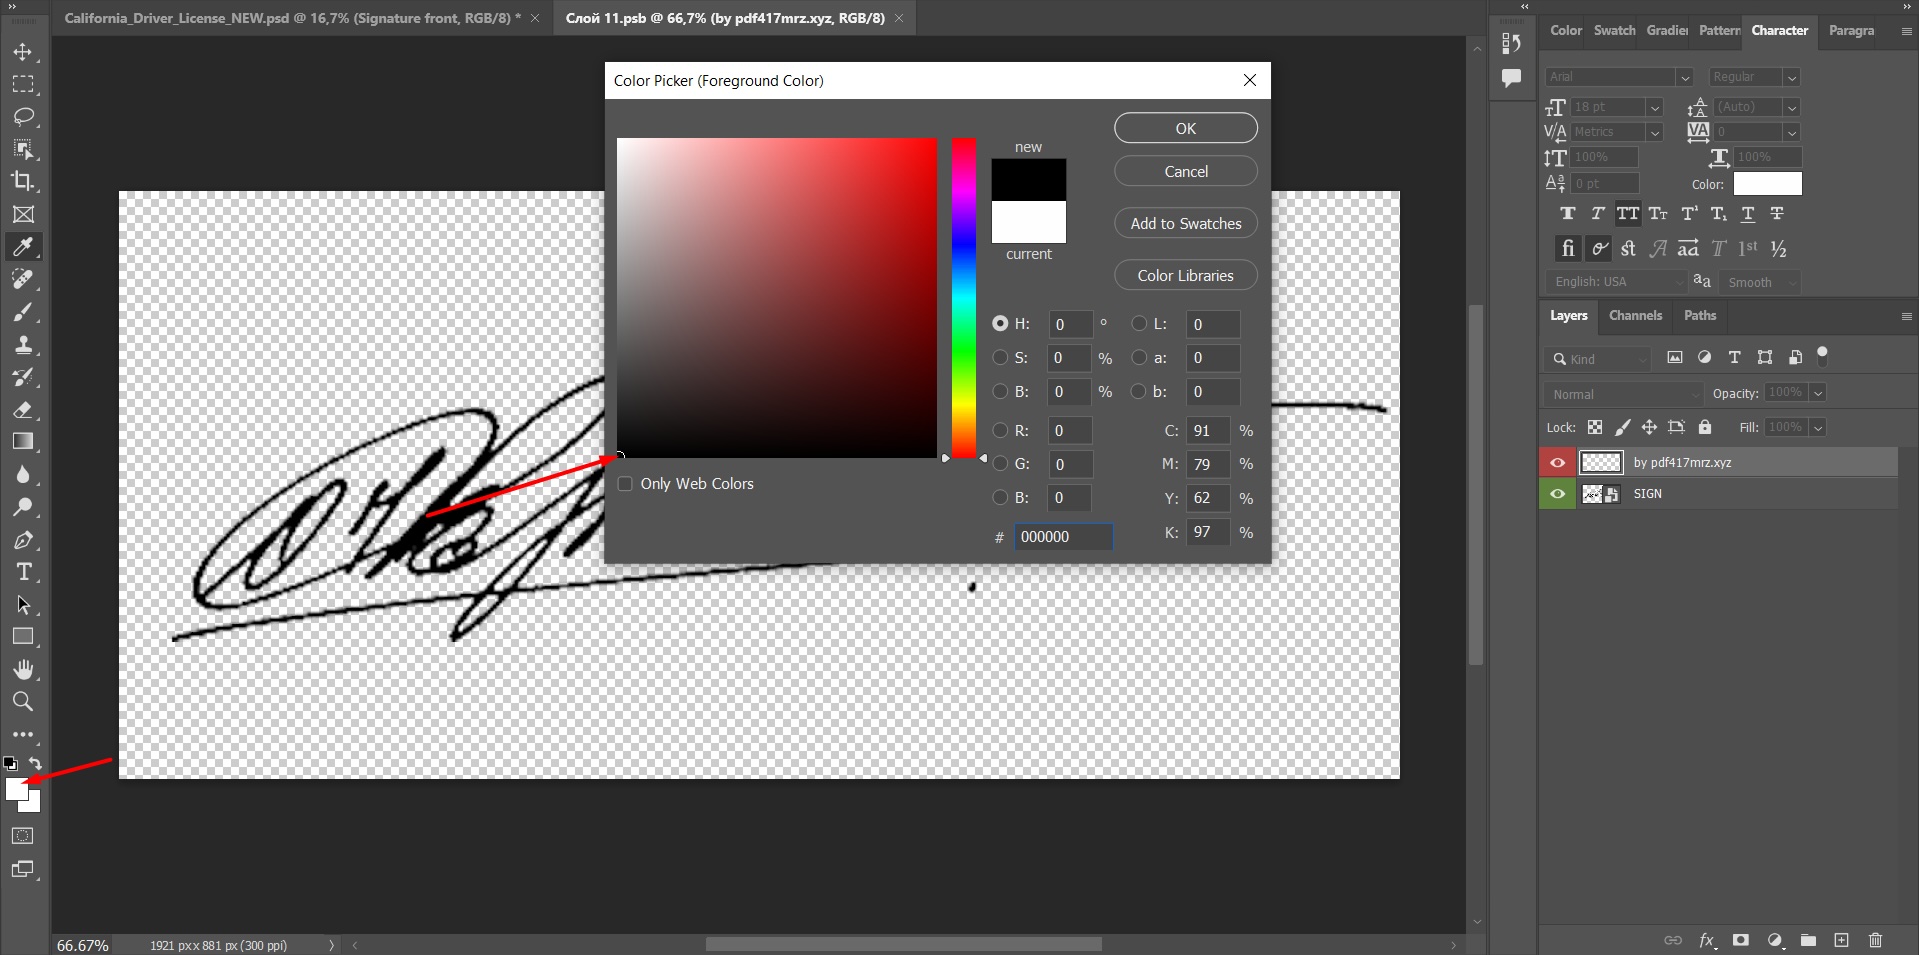
Click OK.
Signature Methods:
- You can sign using the mouse by holding down the left mouse button (LMB) and drawing on the screen.
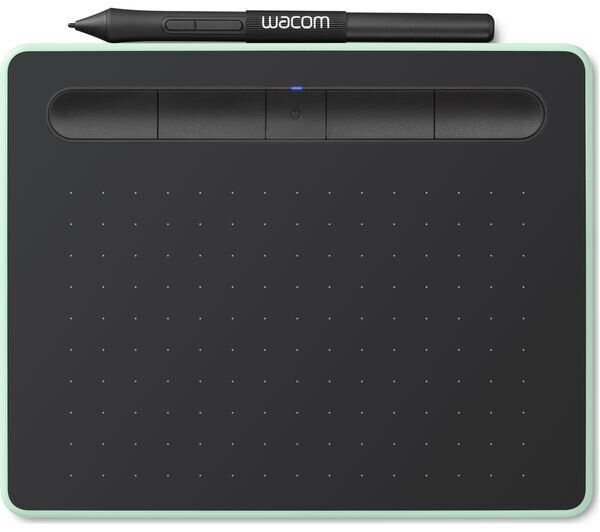
- Alternatively, you can purchase a signature gadget, such as a WACOM device. This is a wireless tool with a pen that lets you create a more natural, handwritten signature.
Use websites to generate signatures — you can easily find them through Google.
Once you choose the method that works best for you, create your custom signature.
To start, create a new layer and click the eye icon next to the old signature layer to hide it.
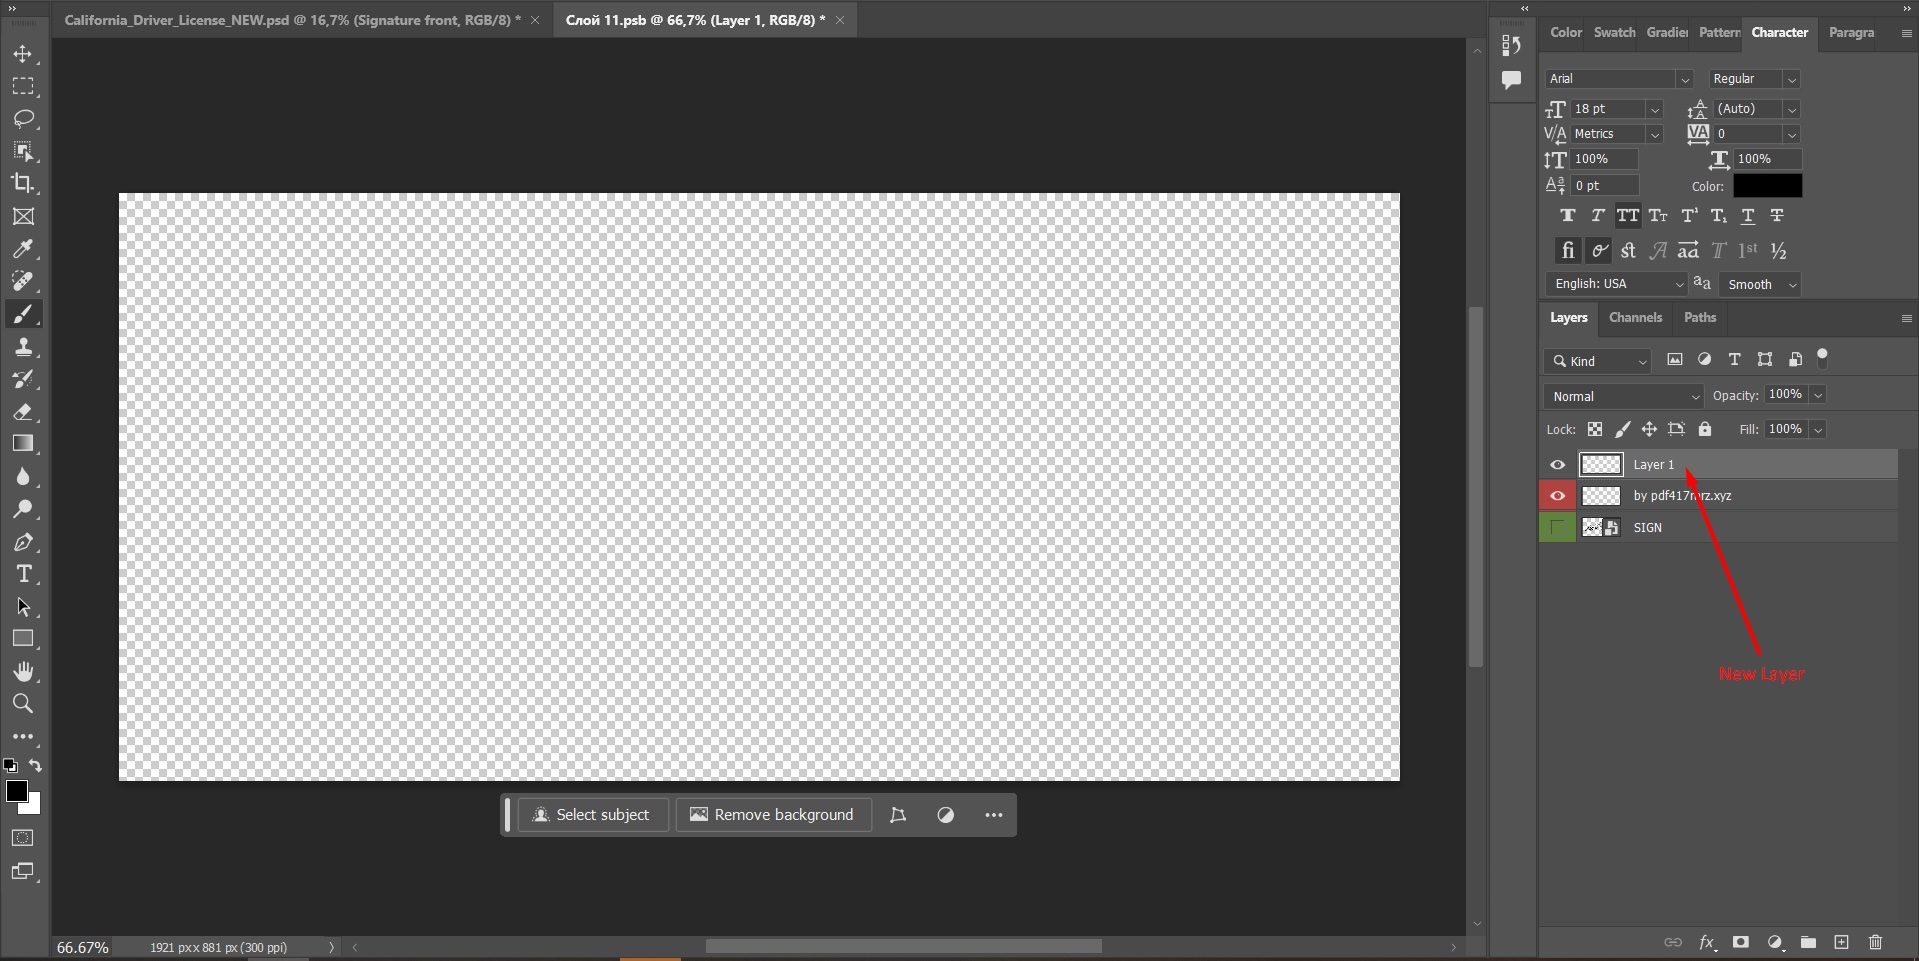
Now, create your signature. I’m using a Wacom tablet for Photoshop.
Next, we save our signature.
You can save it in two ways:
- Press Ctrl+S
- Or go to File → Save As (top right)
Step 5: Replacing Barcodes (PDF417 & Code 128)
Step 5: Replacing barcodes, specifically PDF417 and Code 128, is a crucial process for enhancing product authenticity. Choosing the right format is essential to ensure that the new barcodes are high quality and can be easily scanned. Using professionally designed solutions can help in creating realistic barcodes that deter fraudulent activities.
It's important to select a suitable software that can generate premium barcodes with the necessary specifications. Additionally, integrating these barcodes with your system may require sharing an email address for support and updates. Pre-designed templates can streamline the process, ensuring that the new barcodes not only meet industry standards but also maintain the authentic appearance of your products.
I recommend purchasing PDF417 and Code 128 barcodes from the pdf417mrz.xyz website.
After generating the barcodes on the site, we receive an archive in the Telegram channel containing two files: one for PDF417 and one for Code 128.
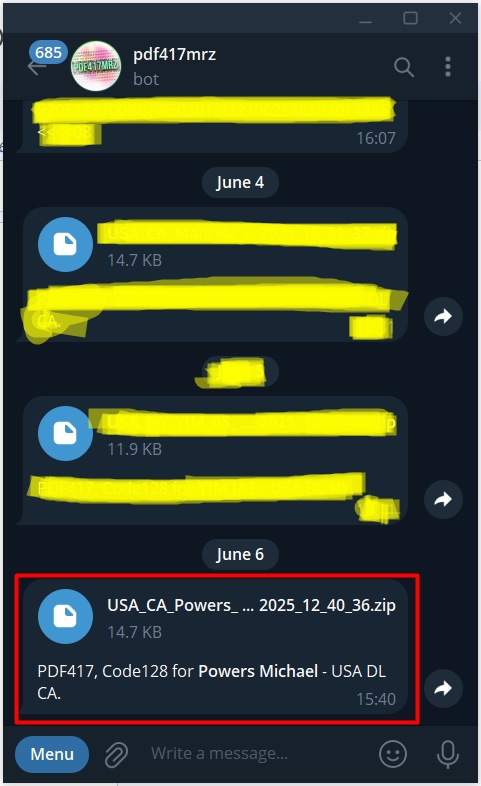
Click on the file icon in Telegram.
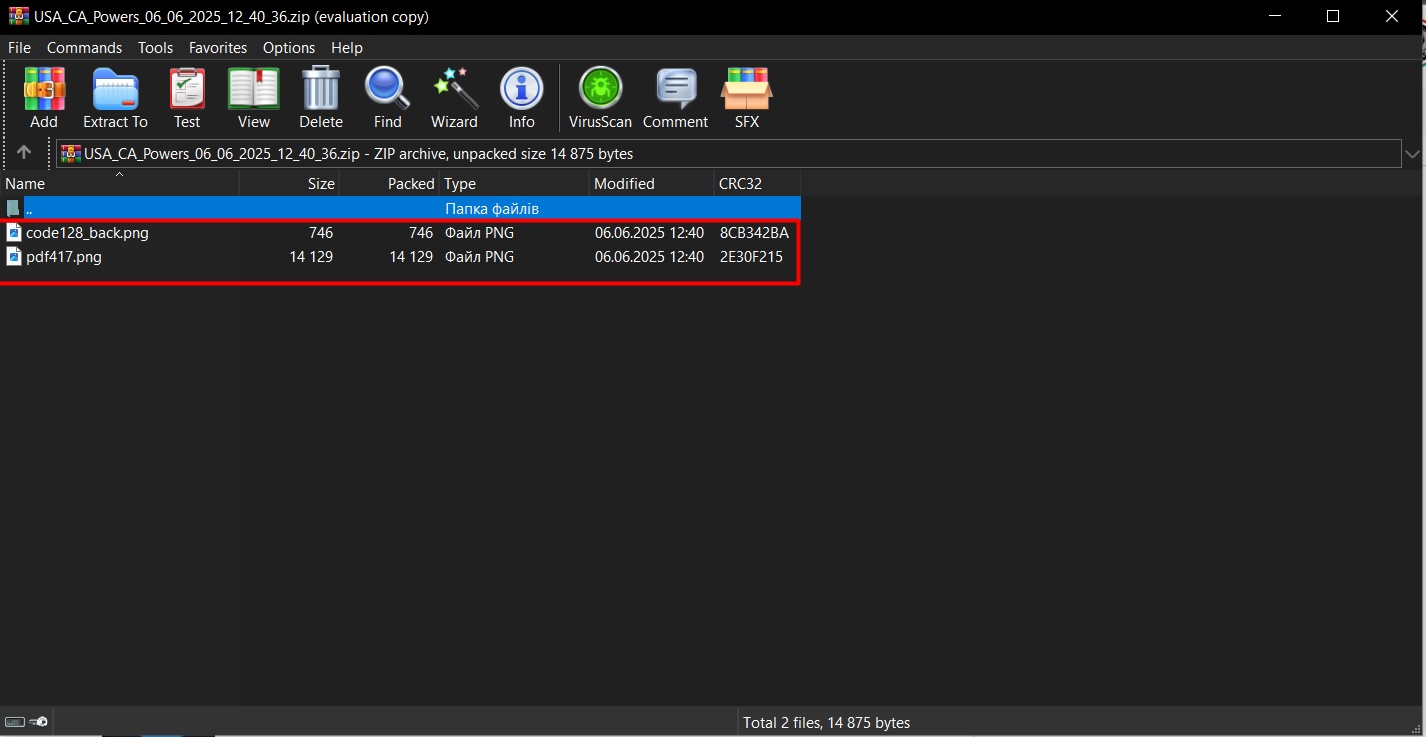
A ZIP archive will open containing two images in PNG format:
- PDF417
- code128_back
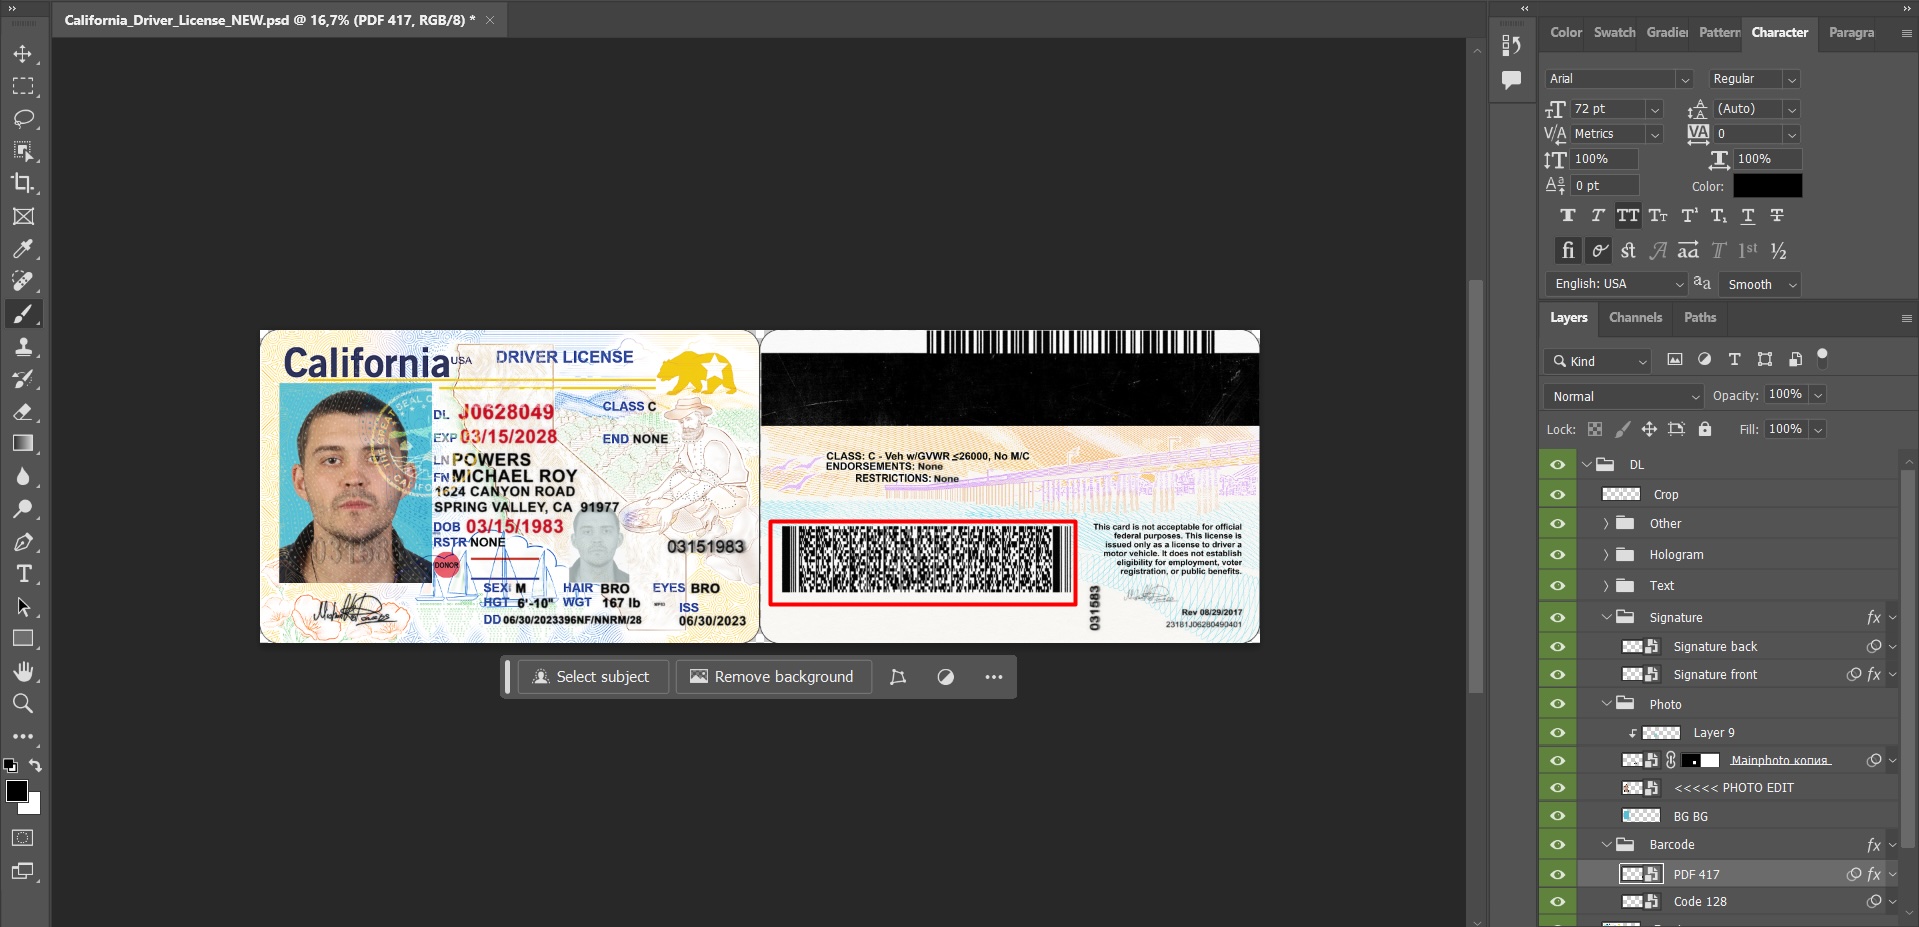
Next, open Photoshop and locate the folder named Barcode in the layers panel.
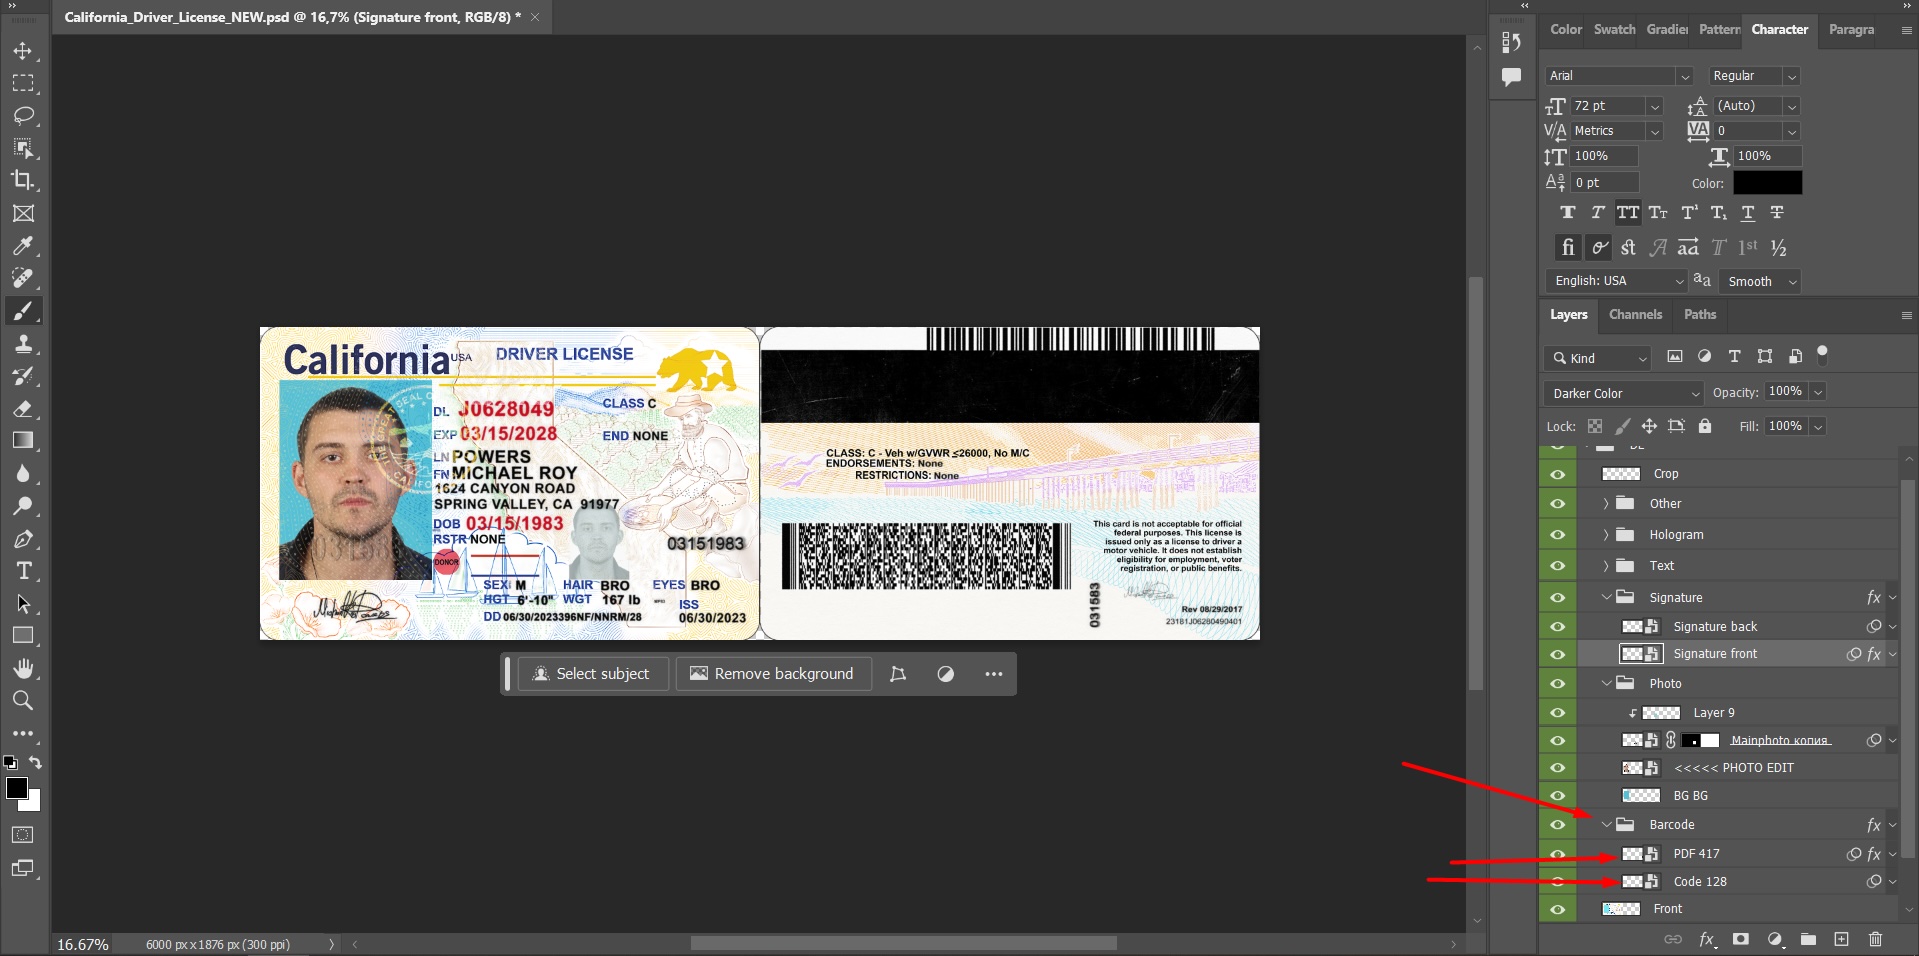
As you can see, there are two smart objects: PDF417 and Code128.
Replacing the PDF417 barcode in the ID Template
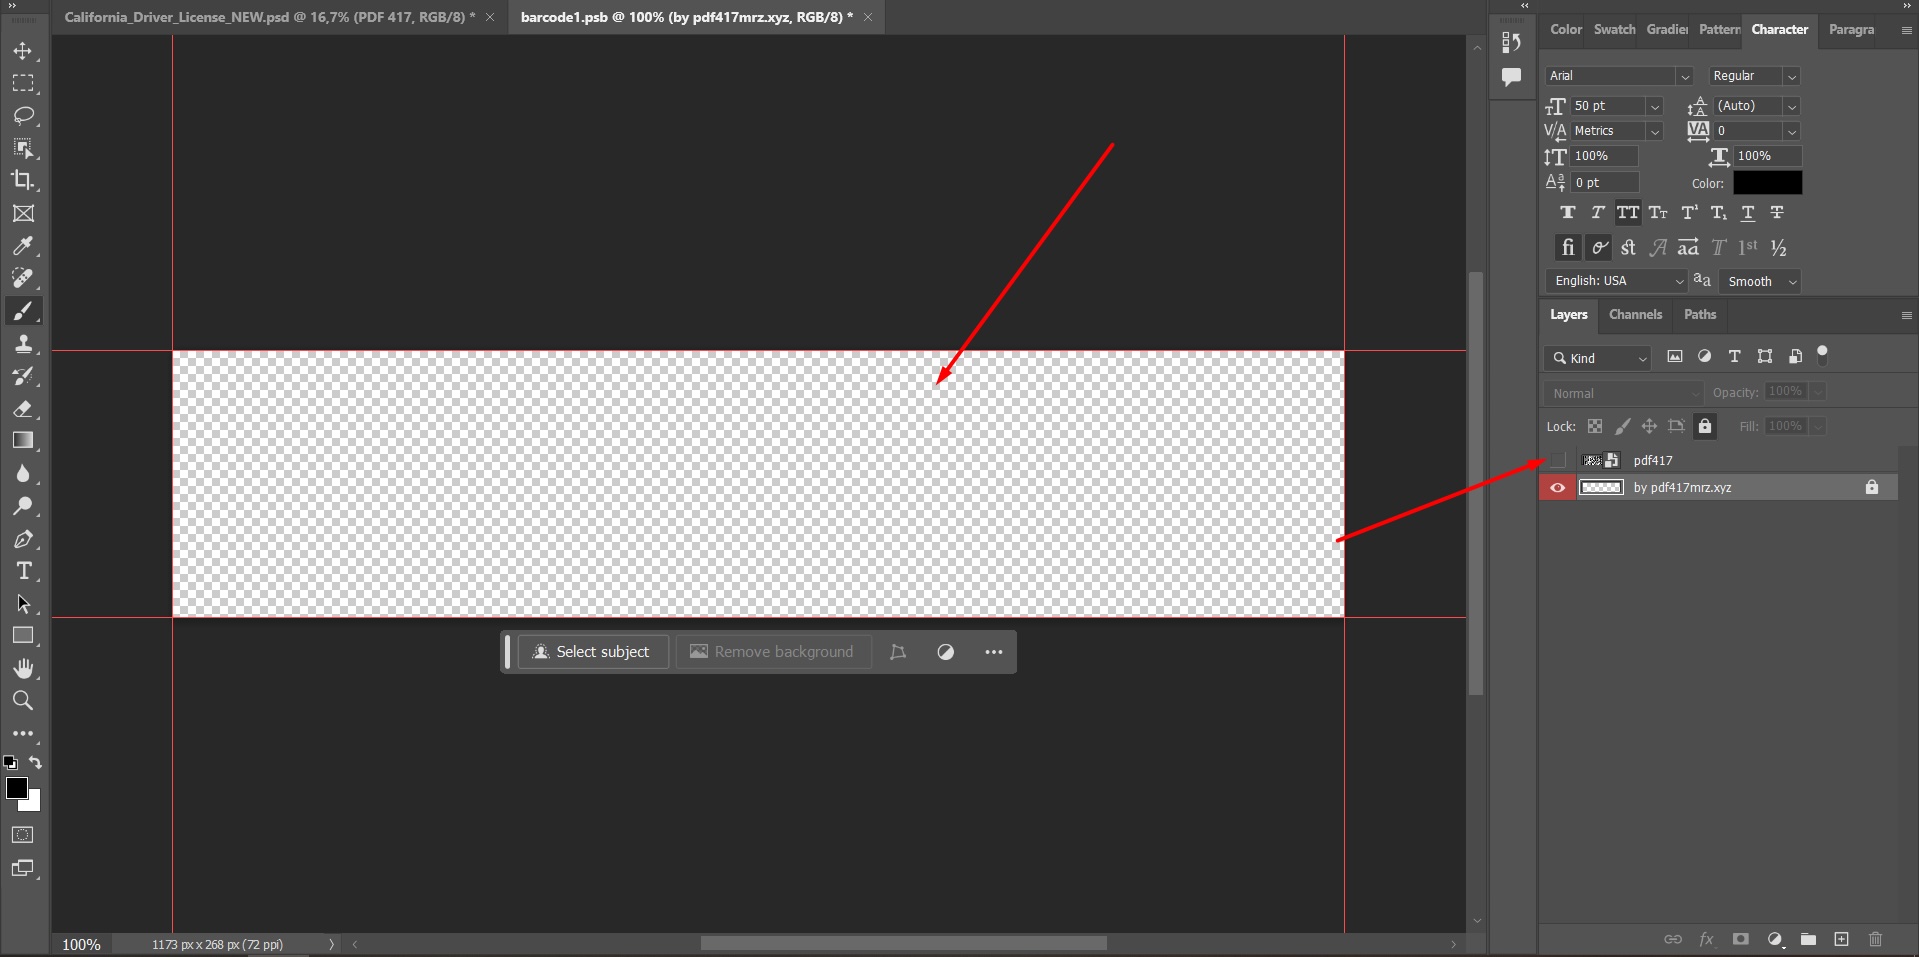
Double-click the PDF417 smart object to open it.
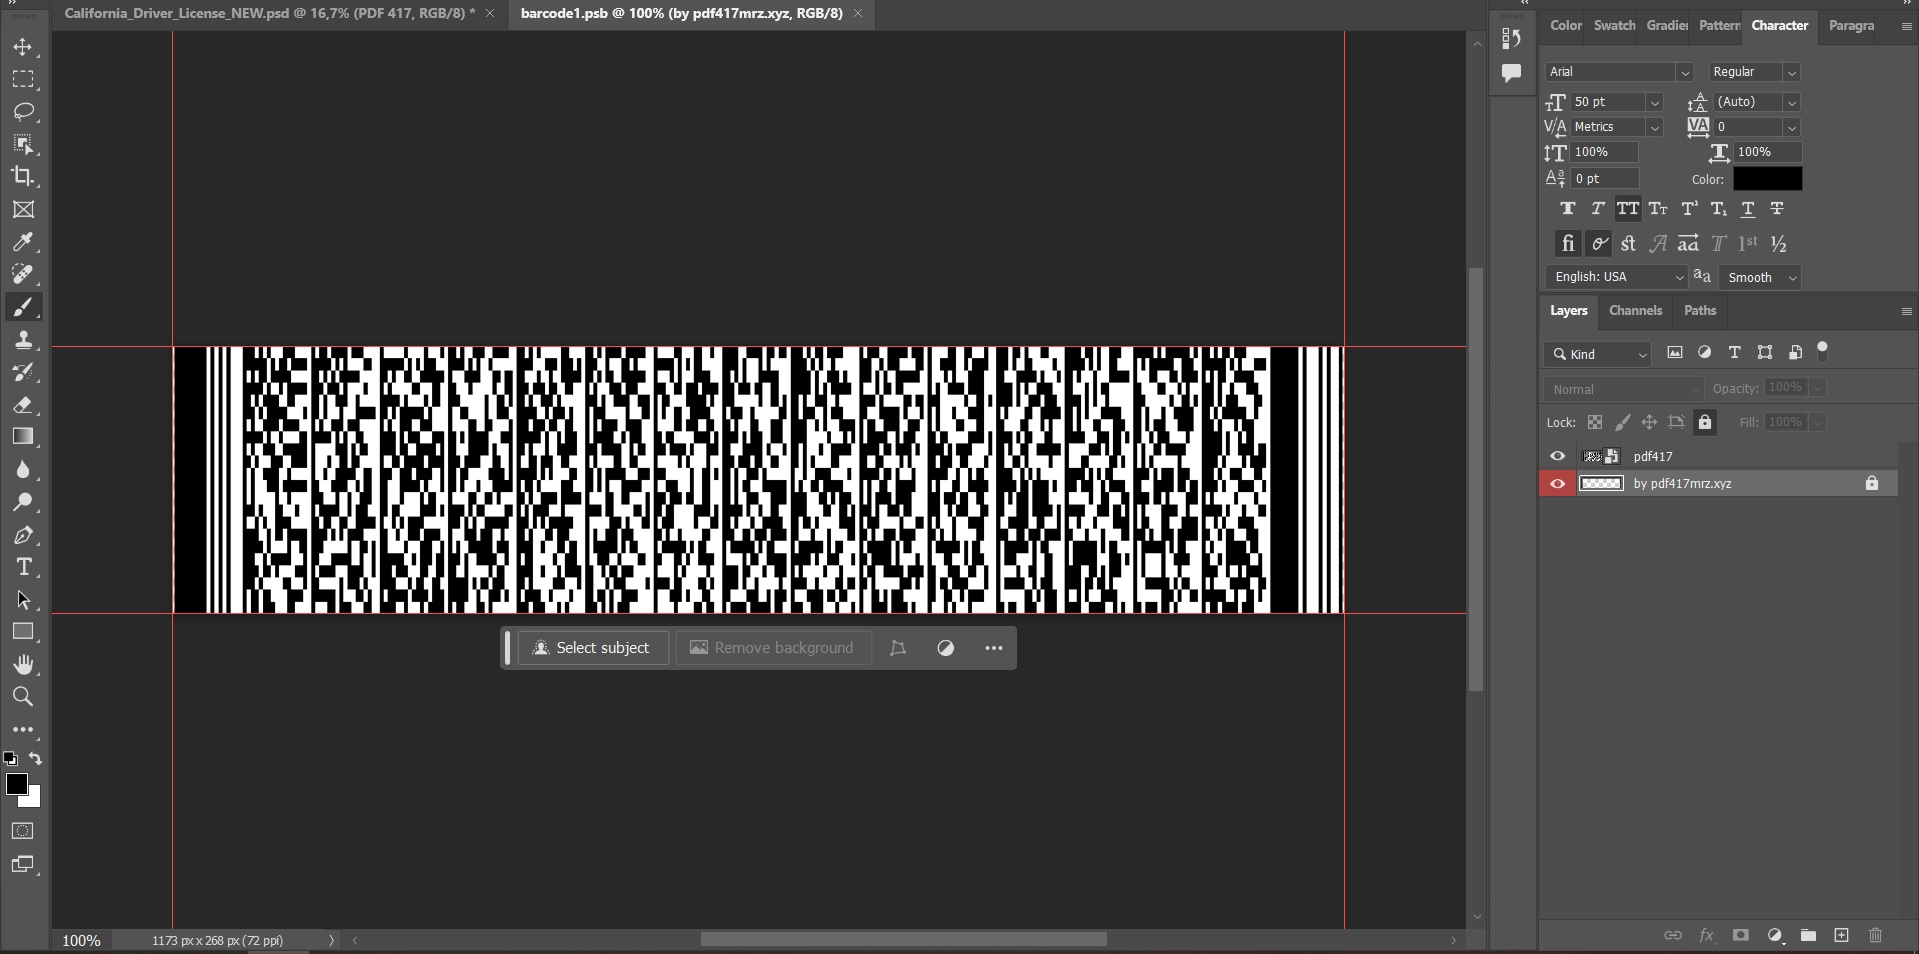
You will see the first barcode. Just like with the photo and signature, click the eye icon next to the old barcode layer in the layers panel to hide it.
Then, from the archive provided by the Telegram bot, drag the PDF417 file into the center of the Photoshop workspace.
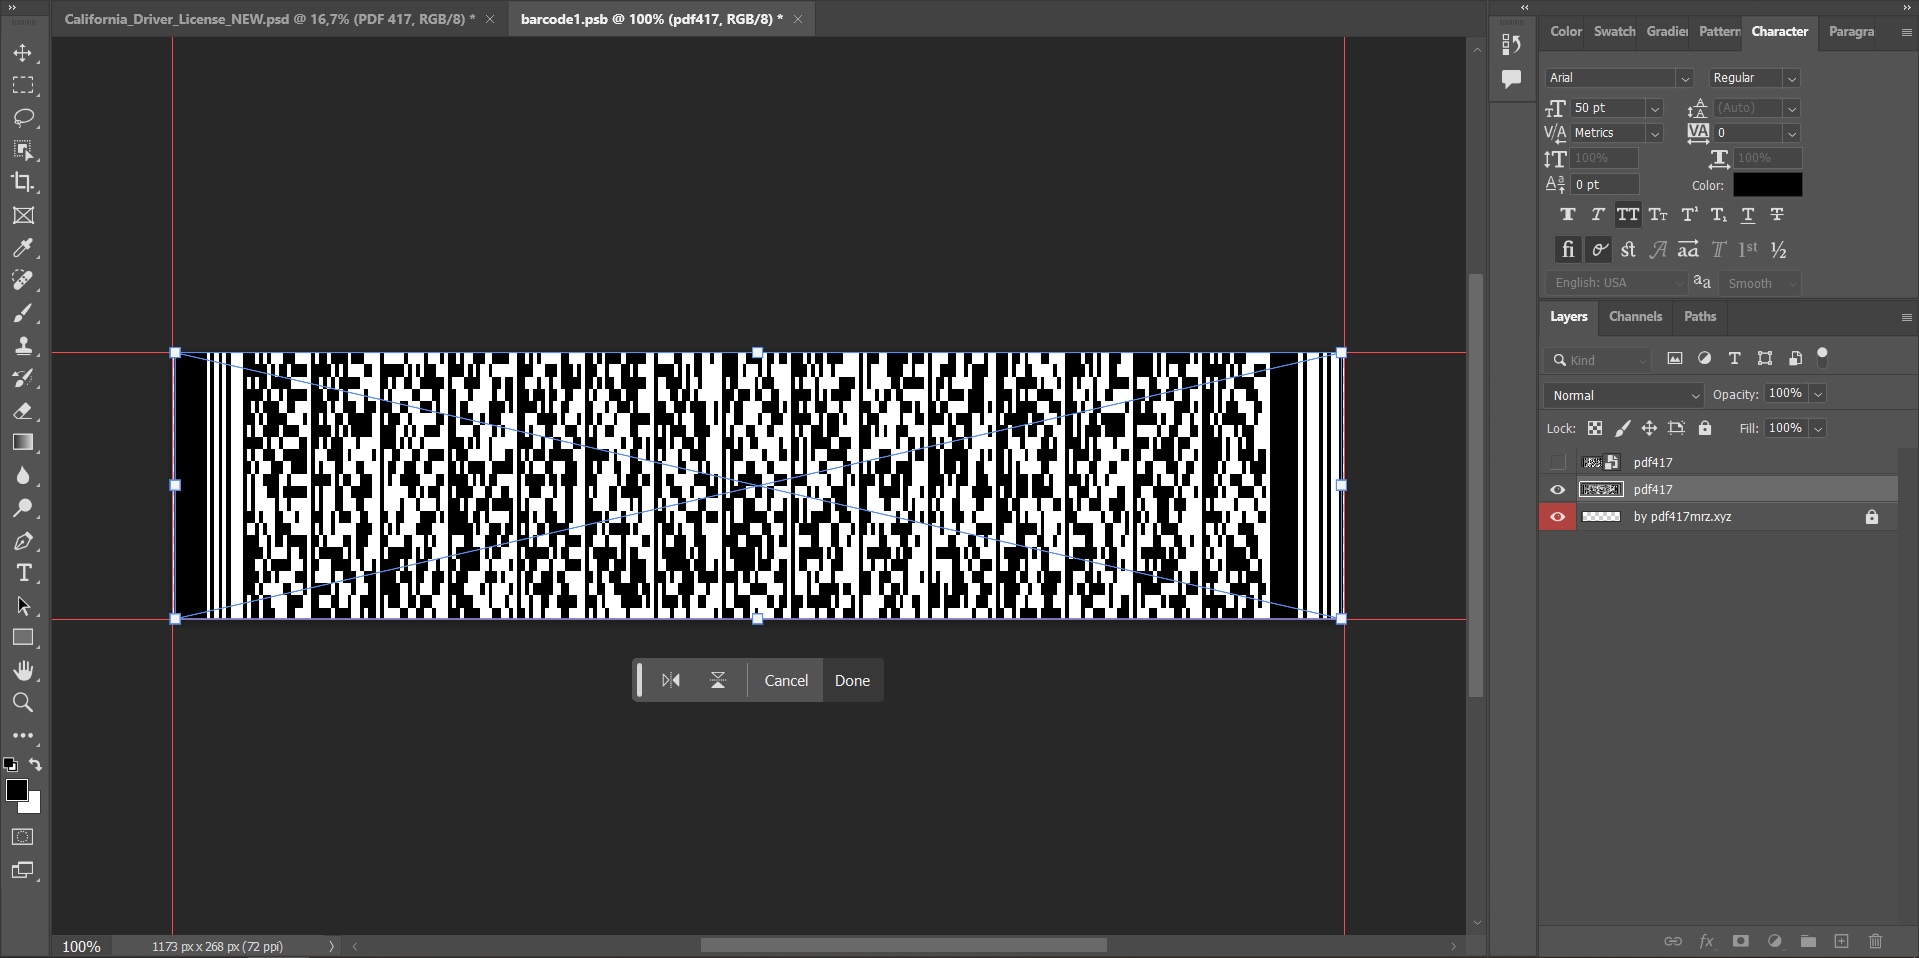
Now our generated barcode appears, and we need to save it.
Then, return to the first tab with our PSD template.
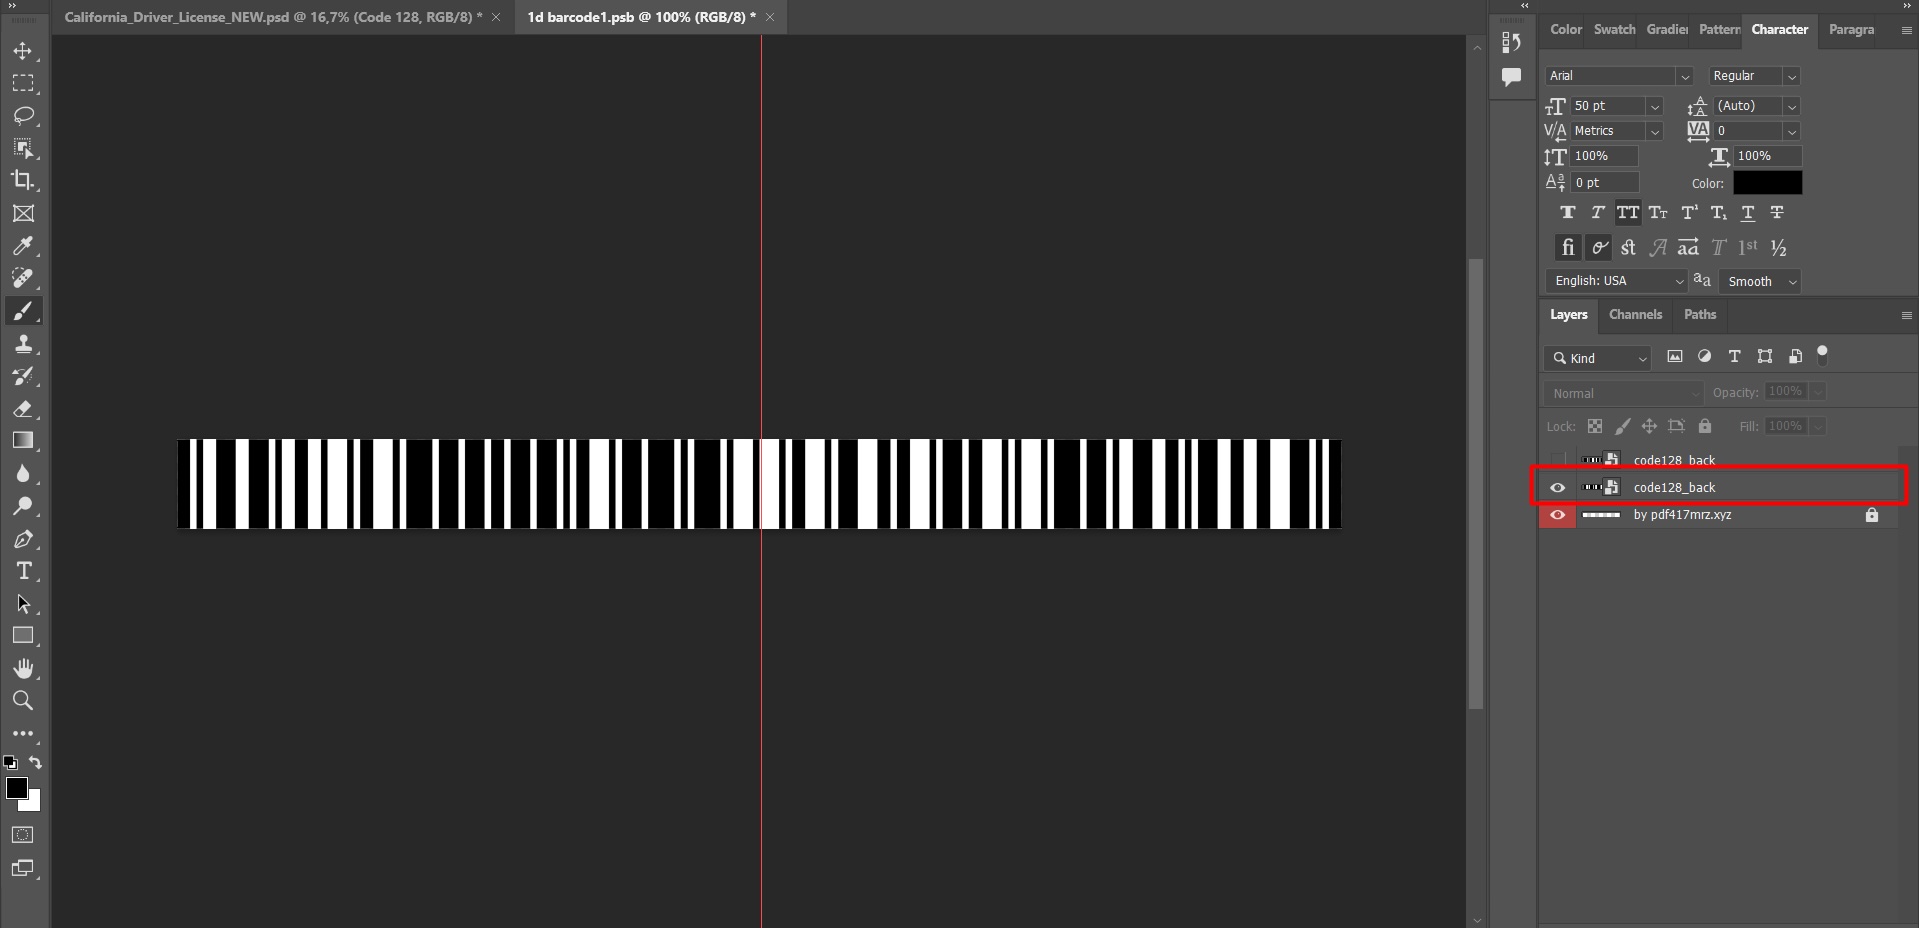
Replacing the Code 128 barcode in the ID Template
Next, we replace the Code 128 barcode. Repeat the same steps as with the PDF417.
- Open the Code 128 smart object.

- Hide the old Code 128 layer.
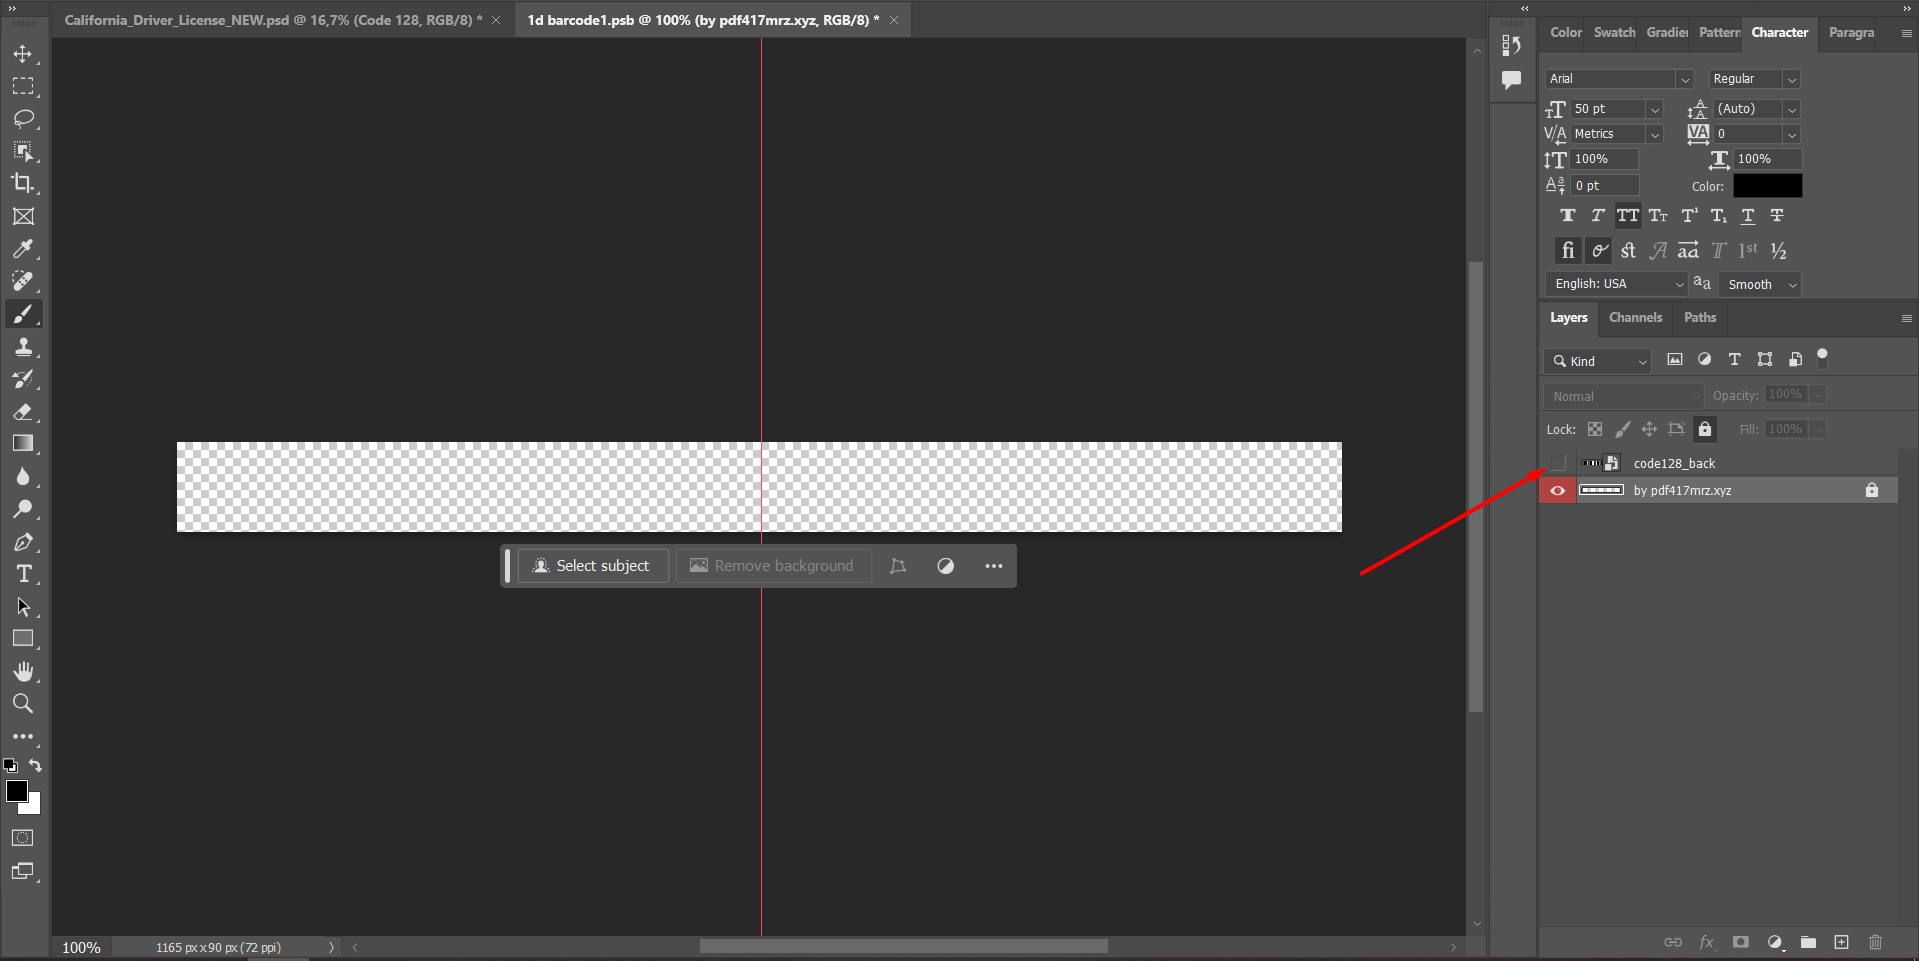
- Drag the code128_back image from the archive provided by the Telegram bot into Photoshop.
Then, save your work.
You can save it in two ways:
- Press Ctrl+S
- Or go to File → Save As (top right)

That’s it! We’ve learned how to use one of our ID card PSD templates.
Final Thoughts
That’s it! Now you know how to edit ID PSD templates for a passport, driving license, or any other document using Photoshop. These editable PSD templates let you customize every layer, from text to fonts, photos, and barcodes, creating a convincing fake ID or sample verification file for educational or testing purposes.
Always use such templates responsibly and only for legal and ethical DL (driving license) or design purposes.